
Over the last year or so I’ve accumulated a good collection of polls and different pieces of metal, with a view to build something that resembles a brassica cage, fruit cage or something along those lines.

What lies ahead, I like to refer to as “Allotment ingenuity”. Making do with what you have, and solving puzzles when you need to.
Why do you need a brassica cage?
Birds and pigeons love brassicas. Once they see them, they’ll waste no time in laying waste to all of the hard work and effort you’ve put into caring for your plants from seed.
The White Butterfly is also partial to a cabbage, sprout and broccoli or two, and they have even been known to lay their eggs among plants, so when that happens – you’re done for.
Talking from experience, it can be really demotivating seeing all of your hard work slowly diminishing, so it’s best to limit any chances of that if you can.
Part 1 – building the frames
For broccoli and Brussels Sprouts your structure needs to be at a minimum 4-5ft high, to cater for these plants. I’ve seen cages exceed that height allowing you to walk in and get more up close and personal if you need to – so with that mind, go with a height that suits you.

The first thing I did, was to organise the pieces that I had accumulated, and I tried to match things into pairs as much as I could.
Over the years I think I’ve built up a bit up a collection of half finished poly tunnel parts, trampoline parts, (I think) parts of an old swing or mattress frame – all of which useful in a full set, but individually, not much good to man nor beast.
I spent ages, probably a good few hours trying to figure out if I should make one giant frame, or make half the bed consist of a frame, and after a good night sleep, I figured out I could probably have two separate frames, which is good because I’ve got plants that are both big and small.

The first frame I built was a square-ish shape, and it’s about 5ft (just over 1.5m) high.
On top of the poles sat two squarish tops, (again I don’t know where from) to define the width of the frame.
To hold in the standing poles, I hammered in wider, poles for the thinner poles to sit into.
This way, I would know that the height would be the same all the way round.
This is an ideal size for brassicas like broccoli and Brussels sprouts.

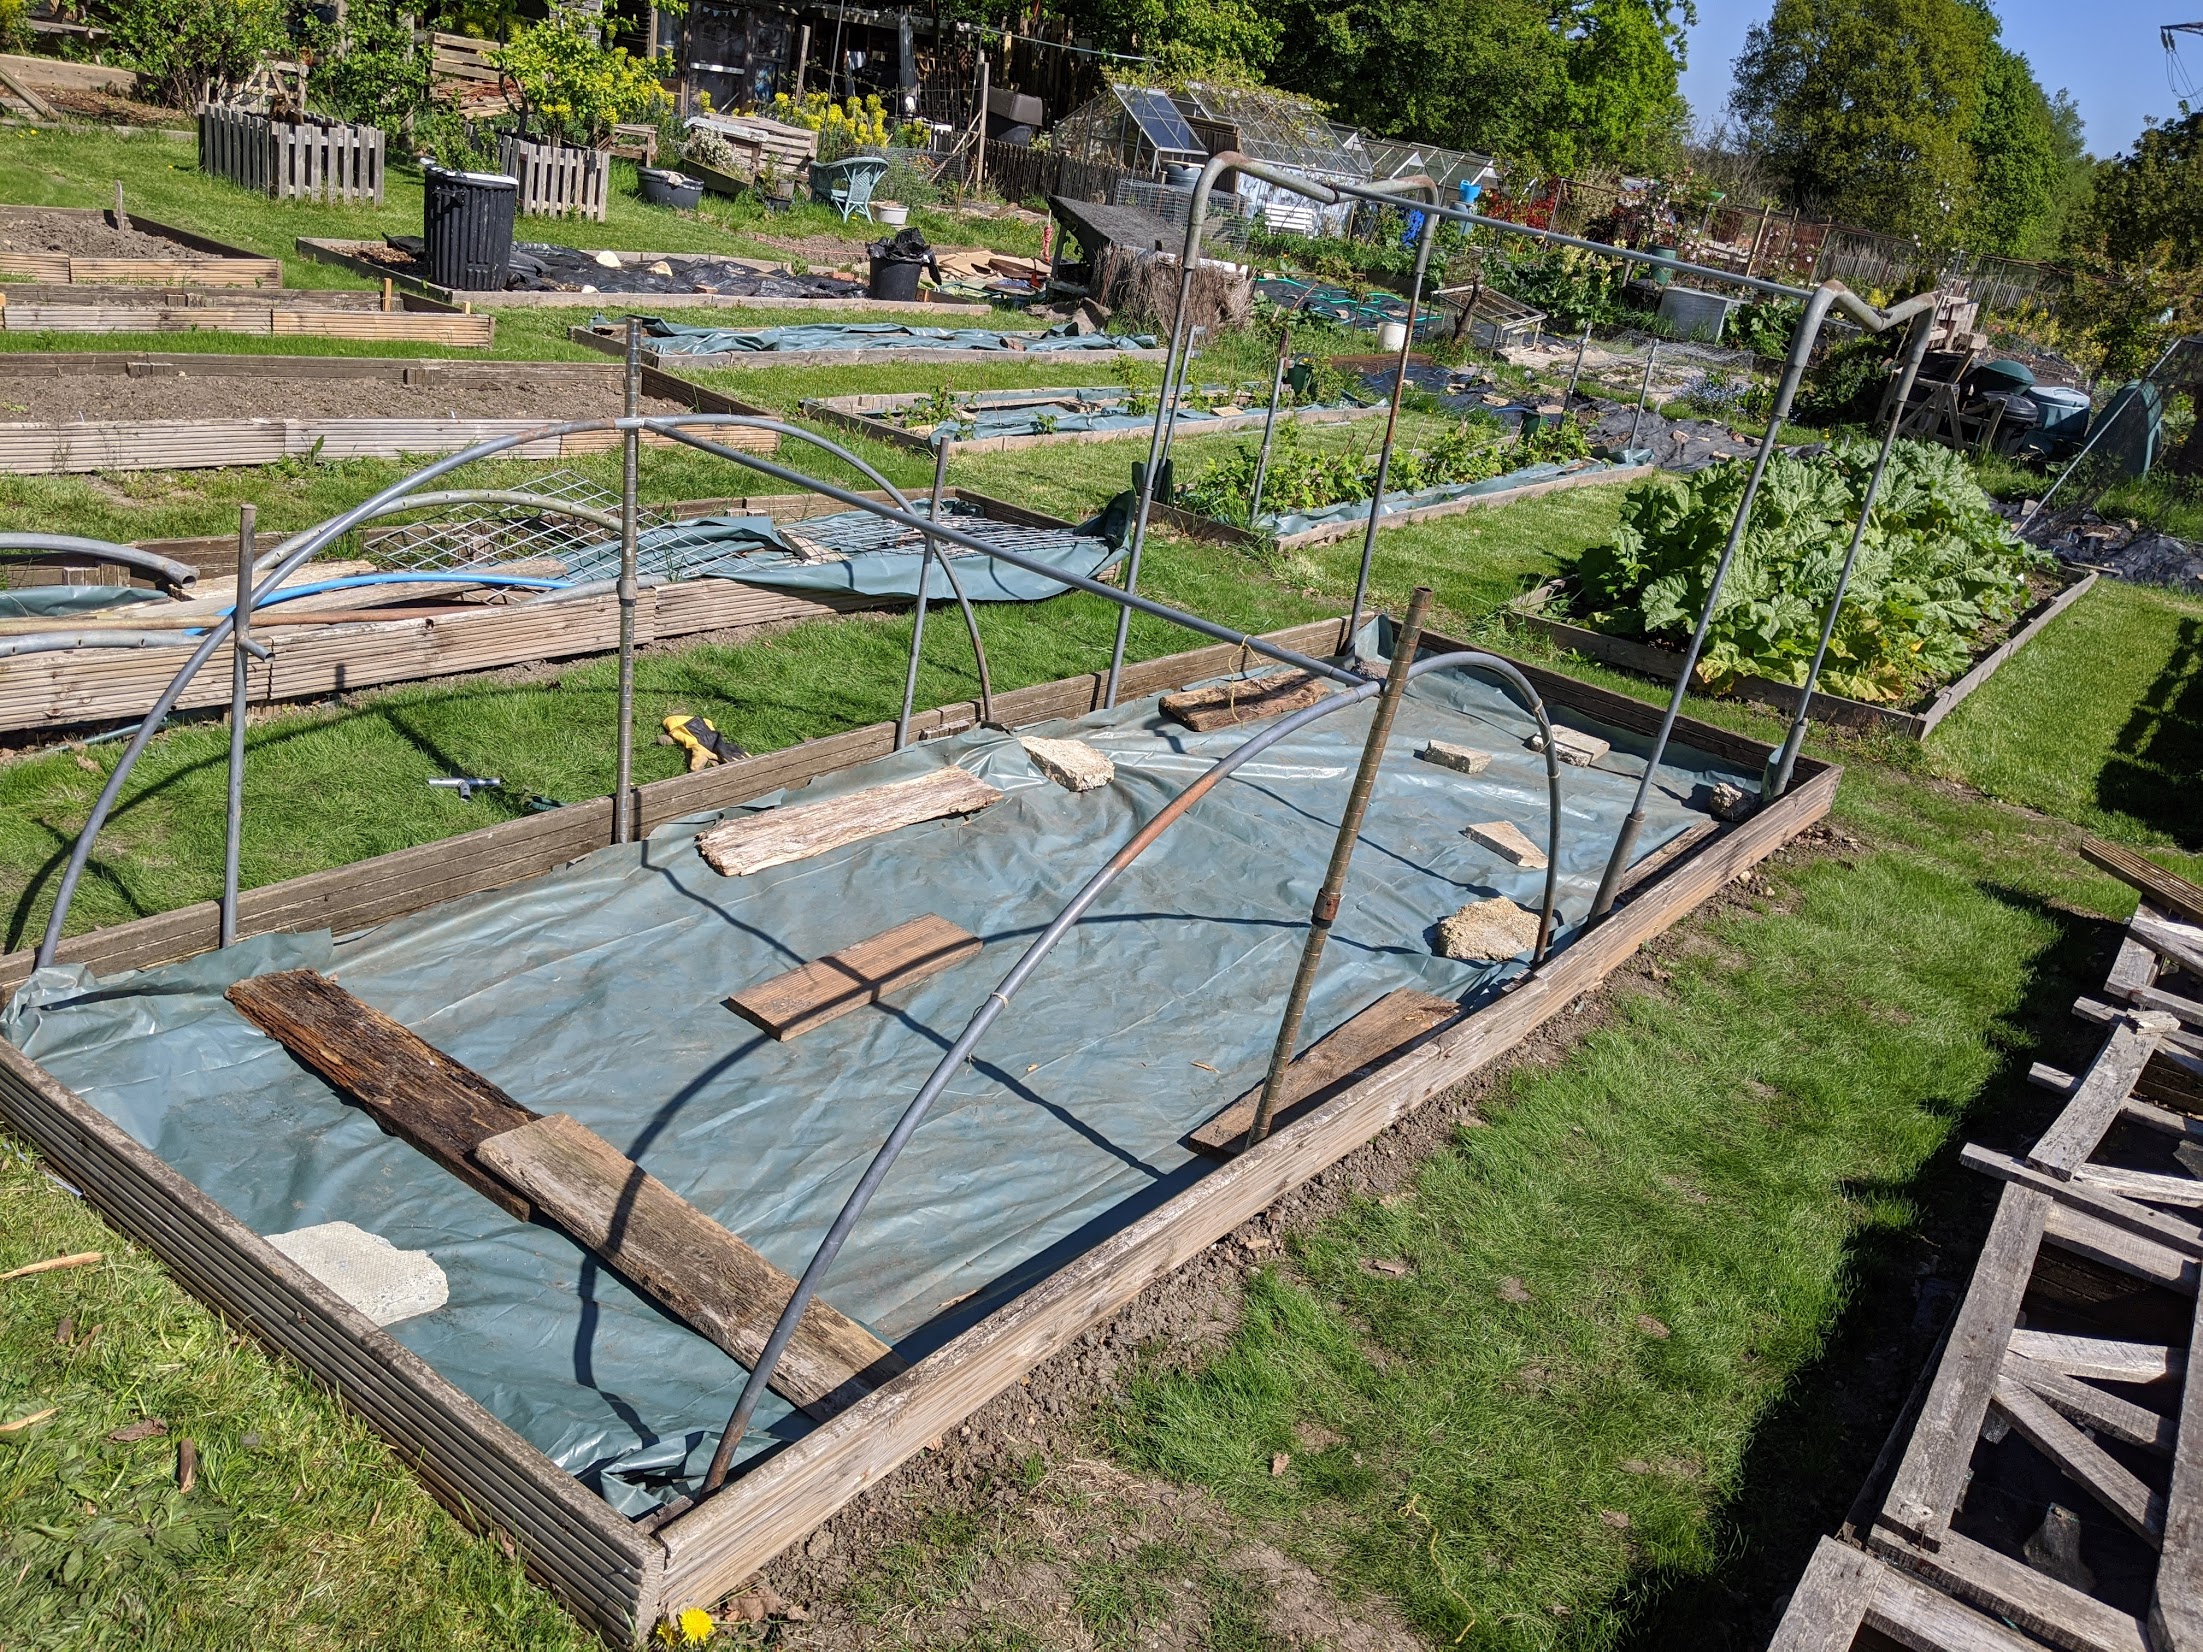
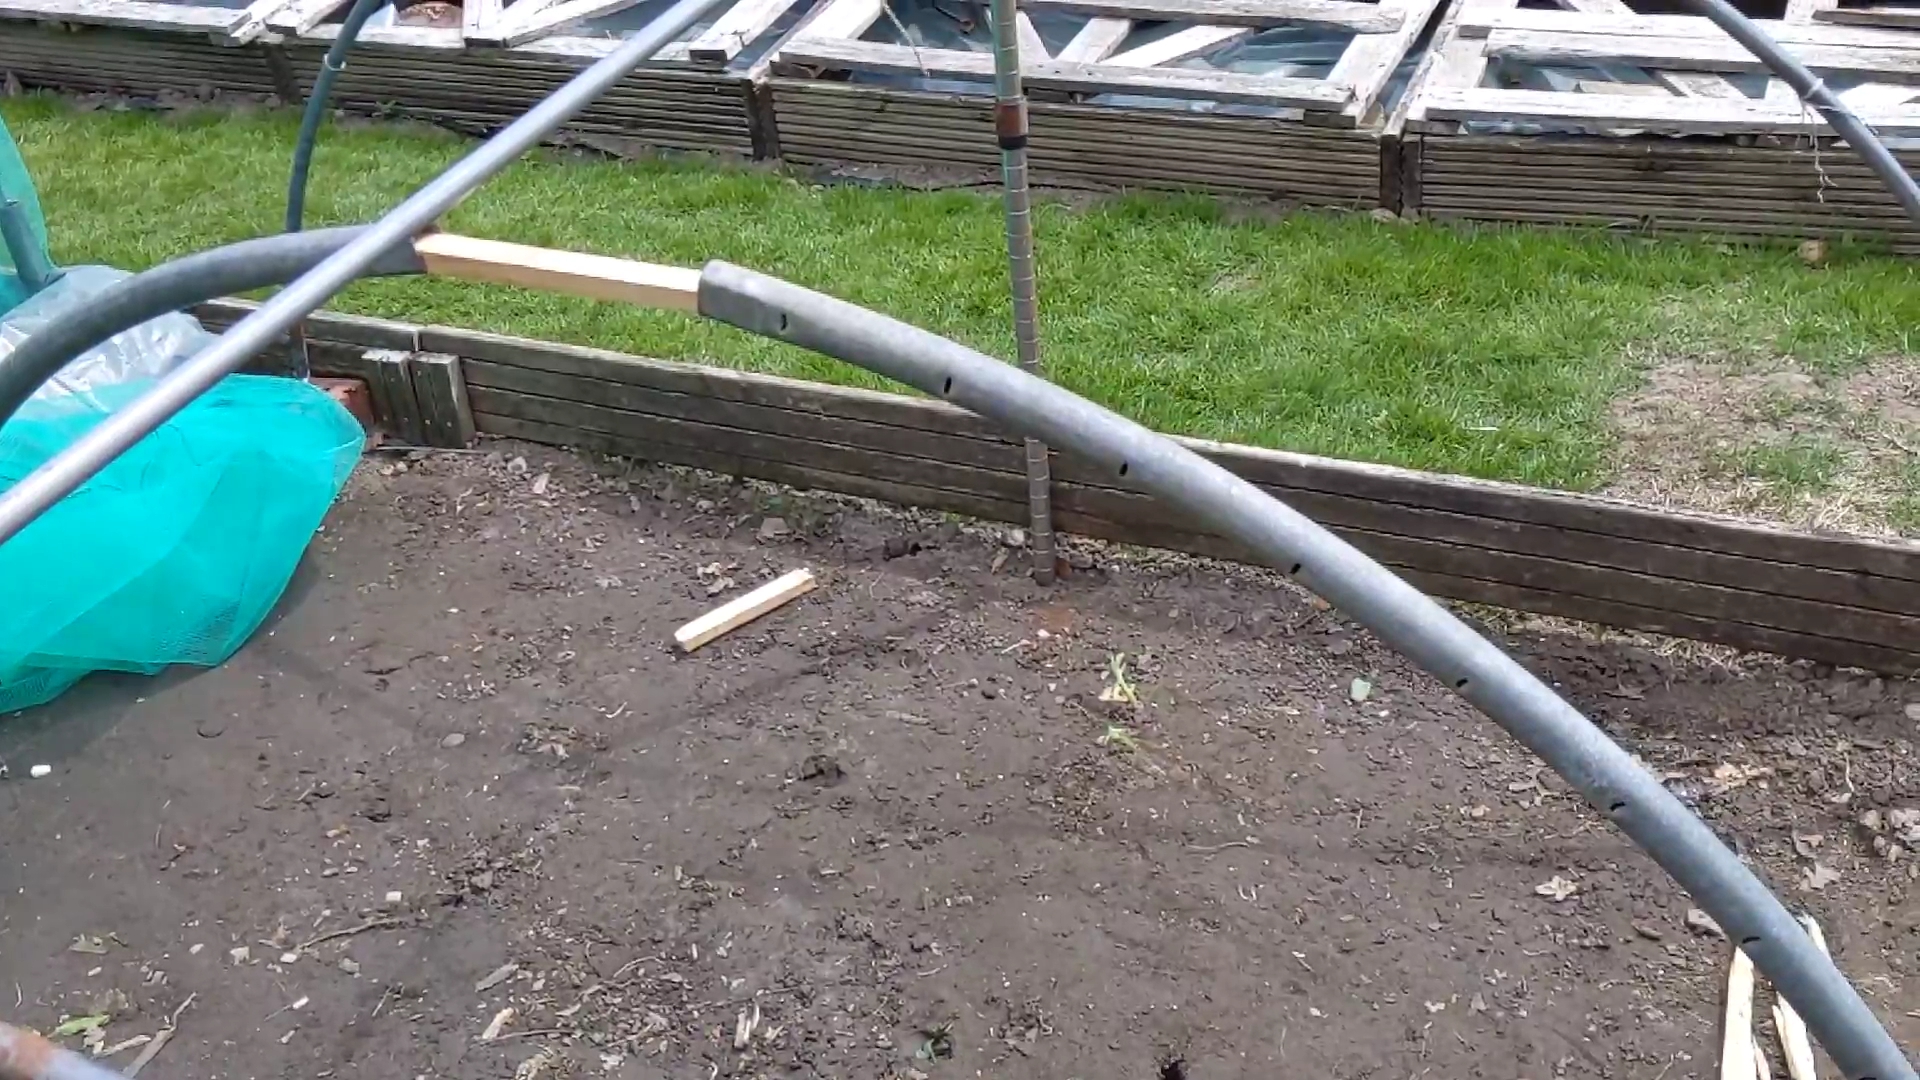
The second frame is an arch, and to be honest – I think this was part of a much bigger poly tunnel frame, but I was missing the legs.
At this point, once I’d figured out what I had I was feeling a lot more confident and I was starting to feel like I’d had something to show for all of this hoarding.
I staked into the ground some taller, thicker poles at each end to try and keep everything as sturdy as possible.
This will be great for the cabbages and cauliflower, and I might even plant the pak choi in here as well if I have the room.
Part 2 – adding the netting
There’s lots online about what type of netting you should use, and I’m pretty sure the well seasoned gardener has a preference on what they use and why.
The main thing to consider is that the mesh should be small enough to not let any butterflies or birds through. Searching for butterfly netting online is usually a good rule of thumb as to what you should be going for.
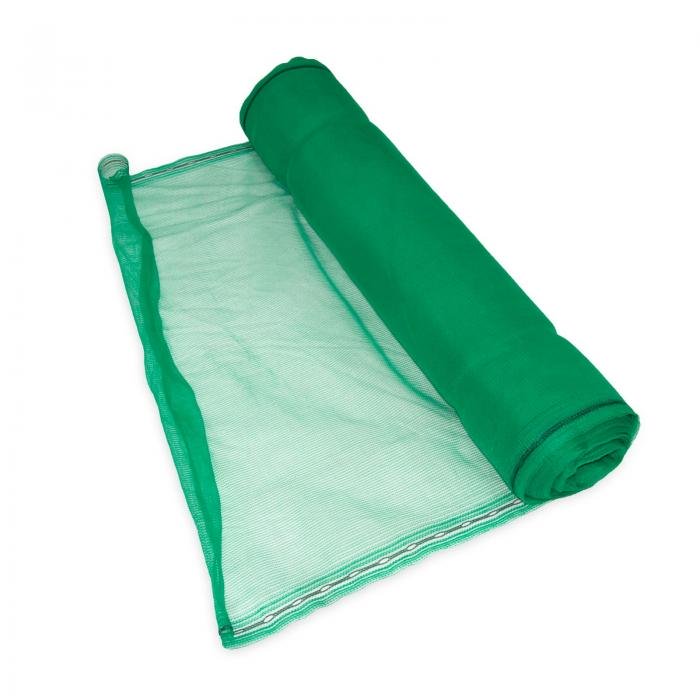
I managed to find this green shade, debris netting (otherwise known as scaffolding netting) on Ebay. It was a really good price and at that quantity, it’s probably going to last me for a good few years.
This netting comes in a range of different colours, but bare in mind that the darker colours (blue, black, dark green…etc) will provide more shade for your plants – so you may or may not need to take that into account.
I chose the standard light green and I think it’s going to do the job nicely.
It’s not everyday that I build a frame and cut some netting to suit, so I did measure up what I’d built and drew out the diagrams on paper to get an idea of what I needed.
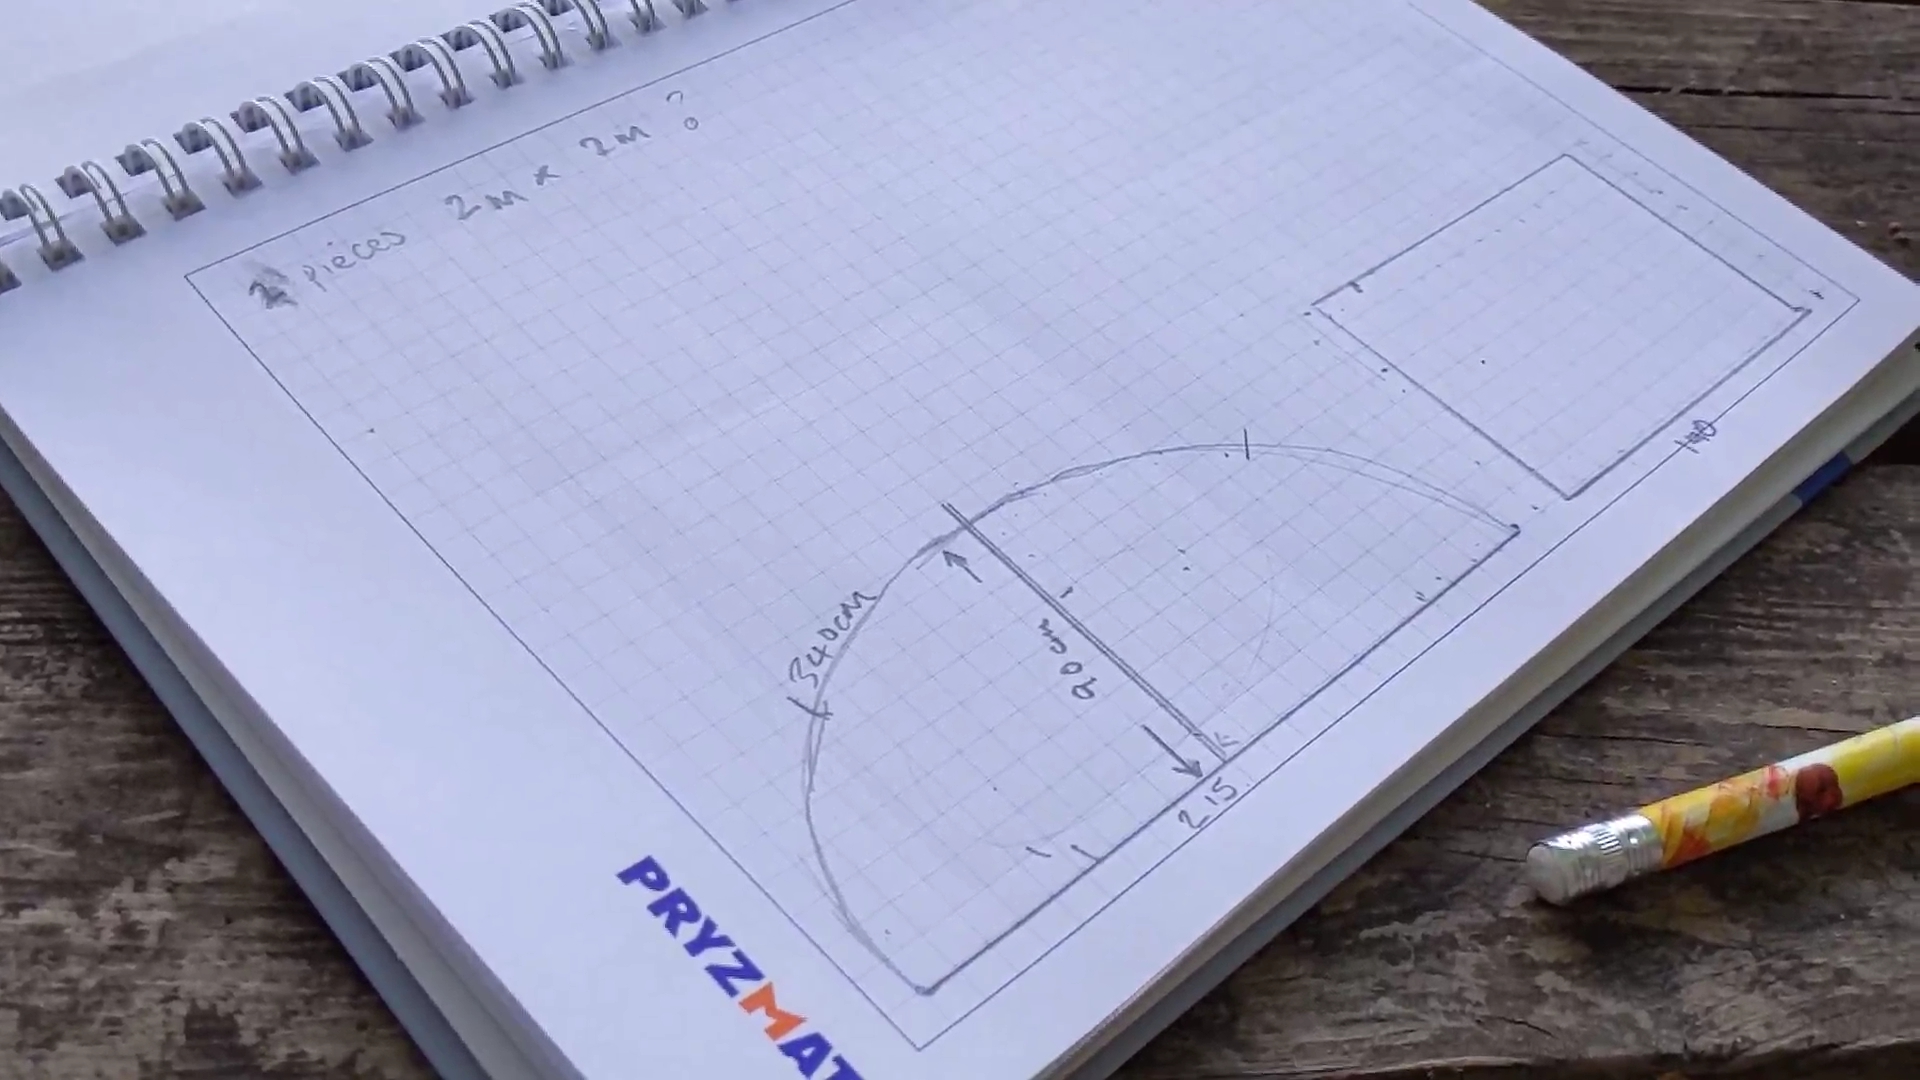
On the actual day, it doesn’t always go to plan, but it’s good to have a rough idea of what pieces you’ll need and how long they need to be if you’ve not done something like this before – especially for the arch way.
With an arch, you need to measure the curvature, as well as the base to get a truer sense of how much you’ll need.
And always add a little bit more than you need. You can always take away, but you can never add.
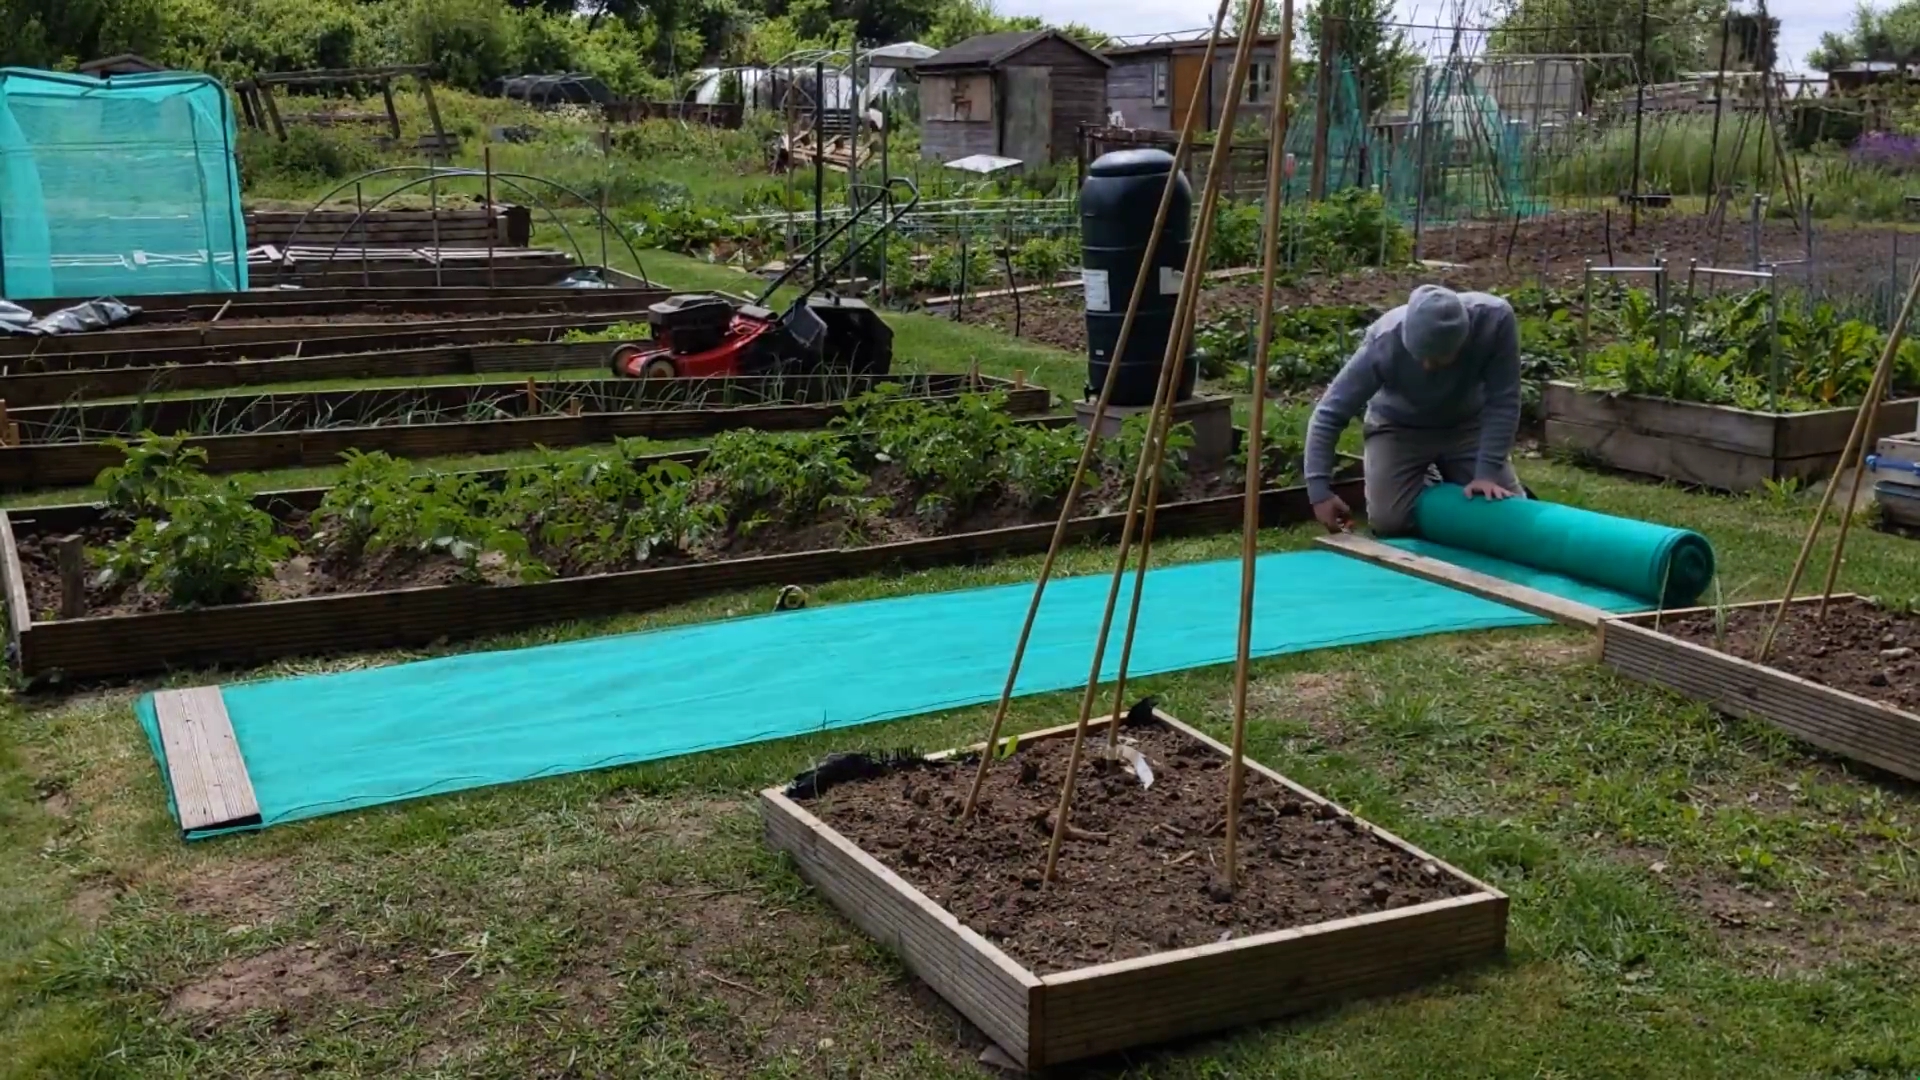
I’ve not dealt with debris netting before and I was pleasantly surprised at how easily it cuts, and how relatively easy it is to handle, even on a windy day.
When cutting long sheets, I lay flat two planks of wood at each end to stop everything from moving and the wood gives me something to cut along as well.
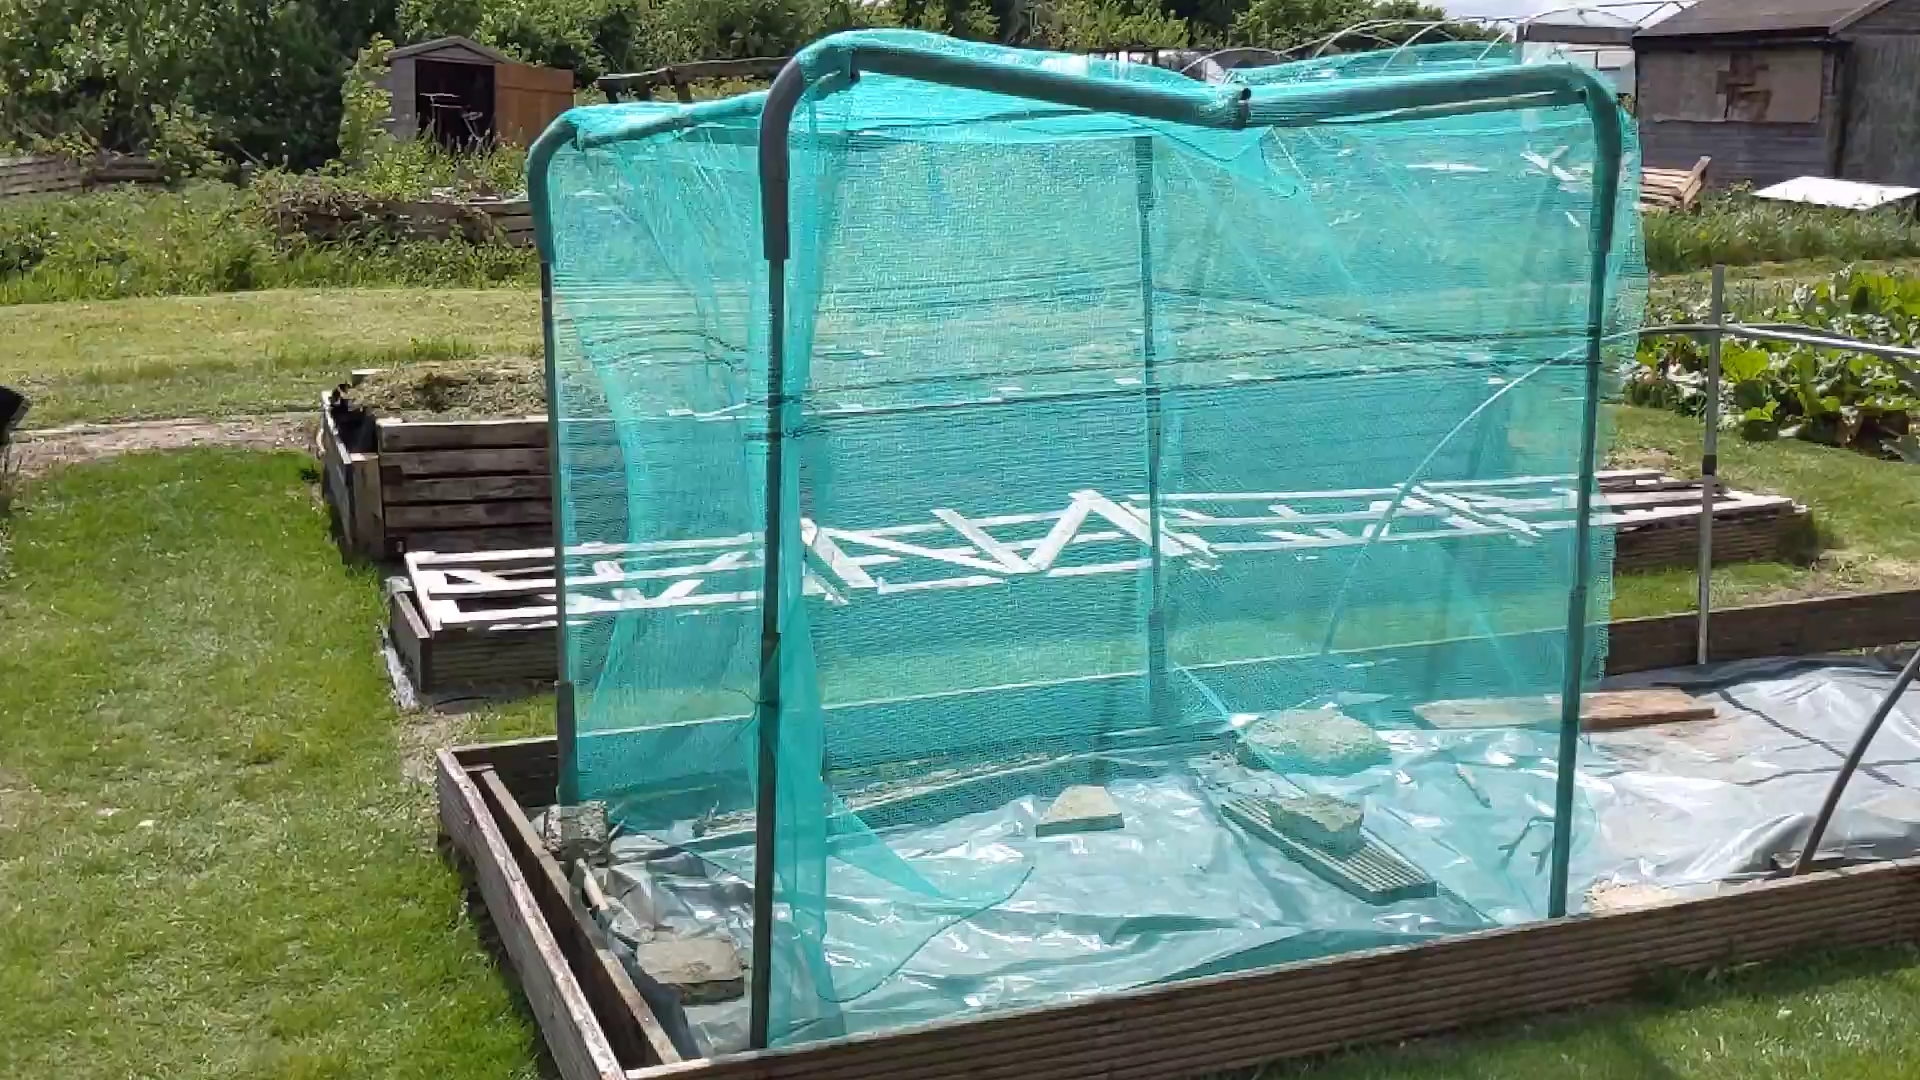
The netting for the square frame was relatively straight forward to put together, mainly because it’s a case of wrapping square sheets onto a square frame.
I’ve used four pieces in total with each piece joining together at the top.
As I was building it I realised it would be a good idea to put a brace at each end to help secure the netting to something – for these I just used a couple of pieces of bamboo cane, and used garden wire to secure them to the main frame.
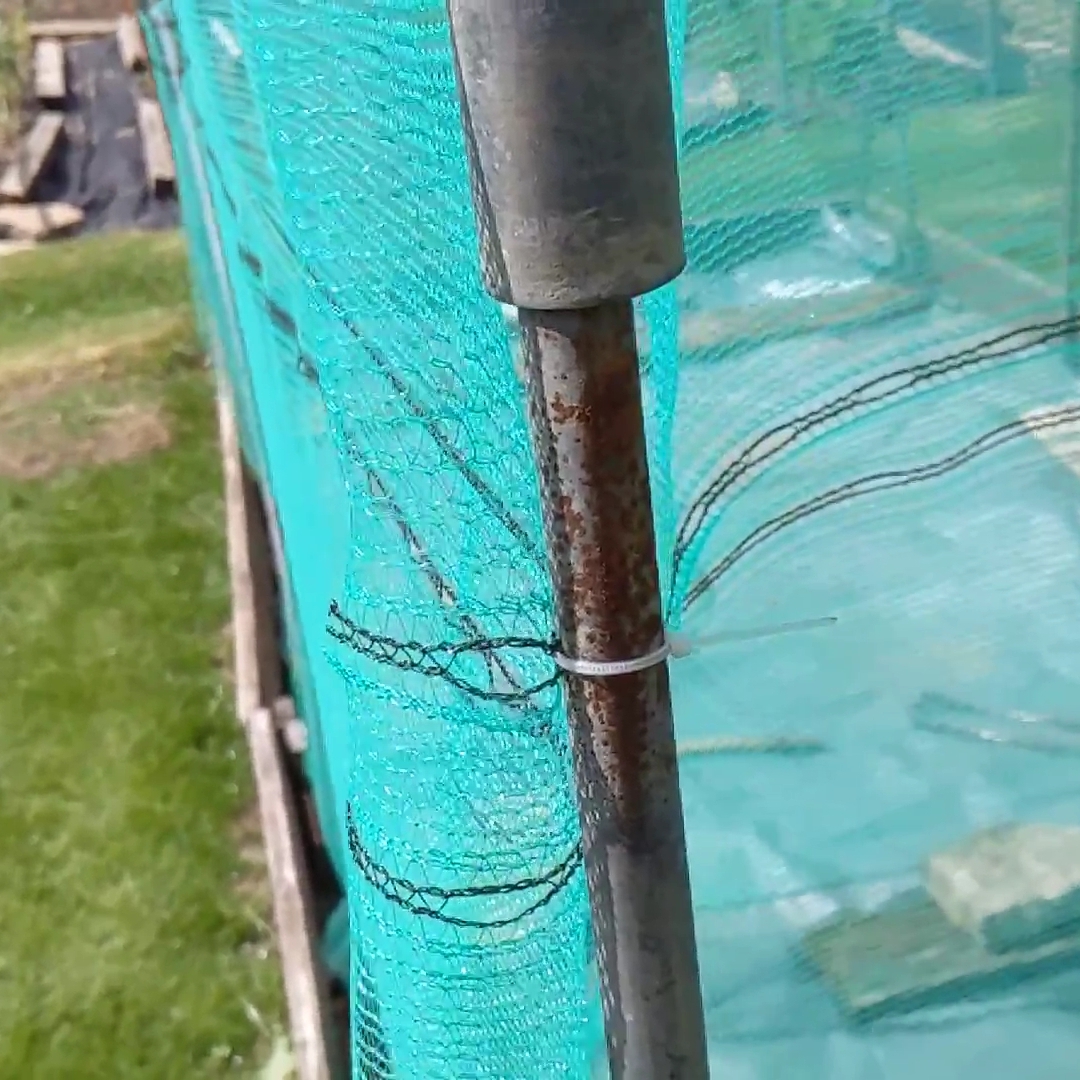
I want some parts of the netting to be permanently secured, and for those parts I’m tying everything together with cable ties.
Other parts I’m going to want to loose off so that I can get inside and water, and for that I’m using some garden wire that I can twist together and untwist when I need to.
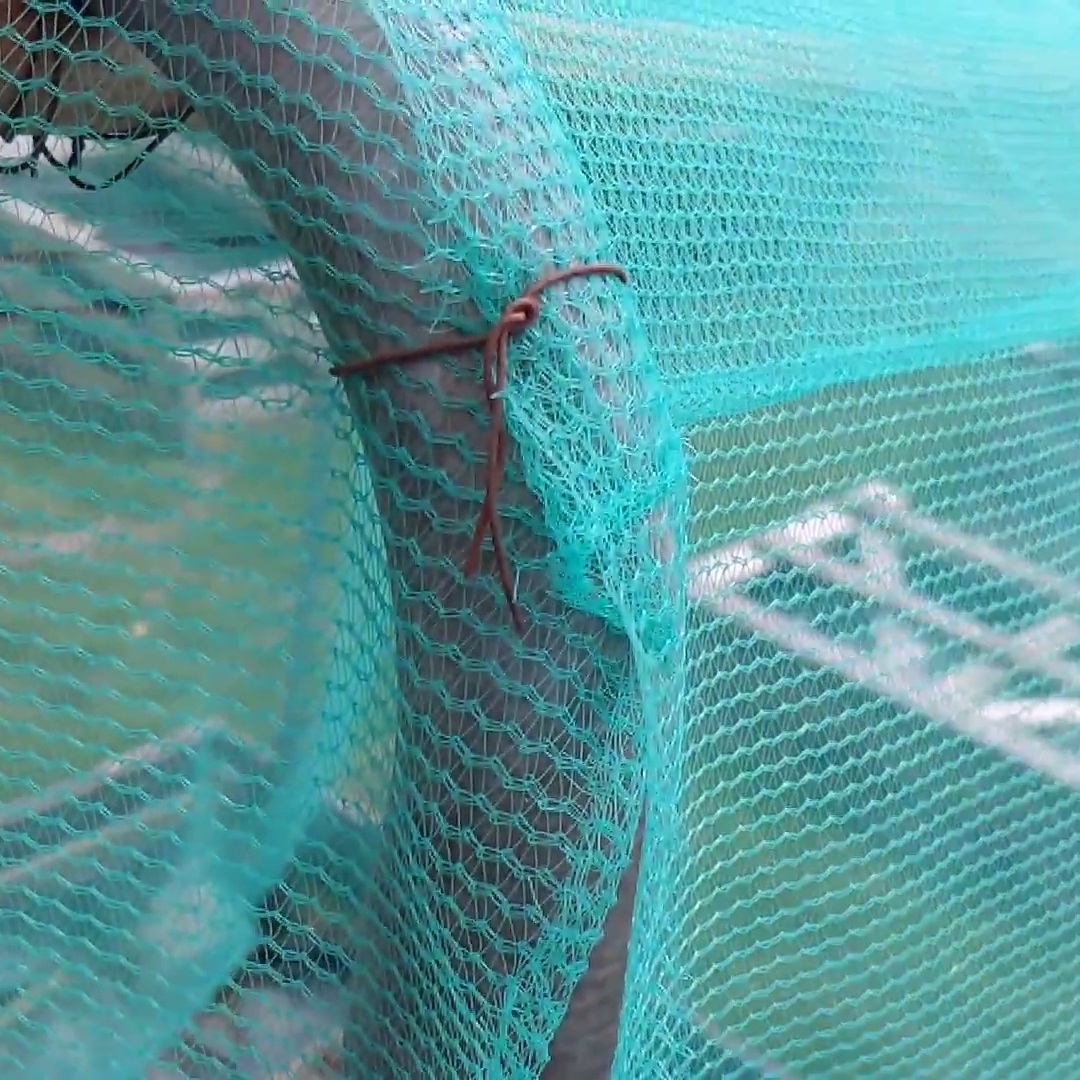
Being able to get inside is something that actually dawned on me as I was building it, and I’m glad it did!
For the archway, I intended to use just two pieces of netting, one for each side – however, it didn’t quite turn out like that.
The first problem I came across was that there was a sag in the middle of the frame, so it didn’t make for the easiest of things to have to secure down.
The second problem I came across was that as I pulled one side, it would then uneven up the other – making it very difficult as to where I permanently secure the netting.

So to overcome the first problem, I decided to build an extra inner arch using two pieces of an old trampoline.
Trampoline parts are super useful, but there’s a lot of on the spot geometry used when putting it all together, because I haven’t got a full set.
I wanted the arch to start and end at the same point, so this means that the middle of the curve would need be straightened out, so I used a bit of wood to achieve this.
In the physical universe that we occupy, it would not be possible to the same base width of the arch as the other two pieces – it’s ok though, it doesn’t have to be perfect.
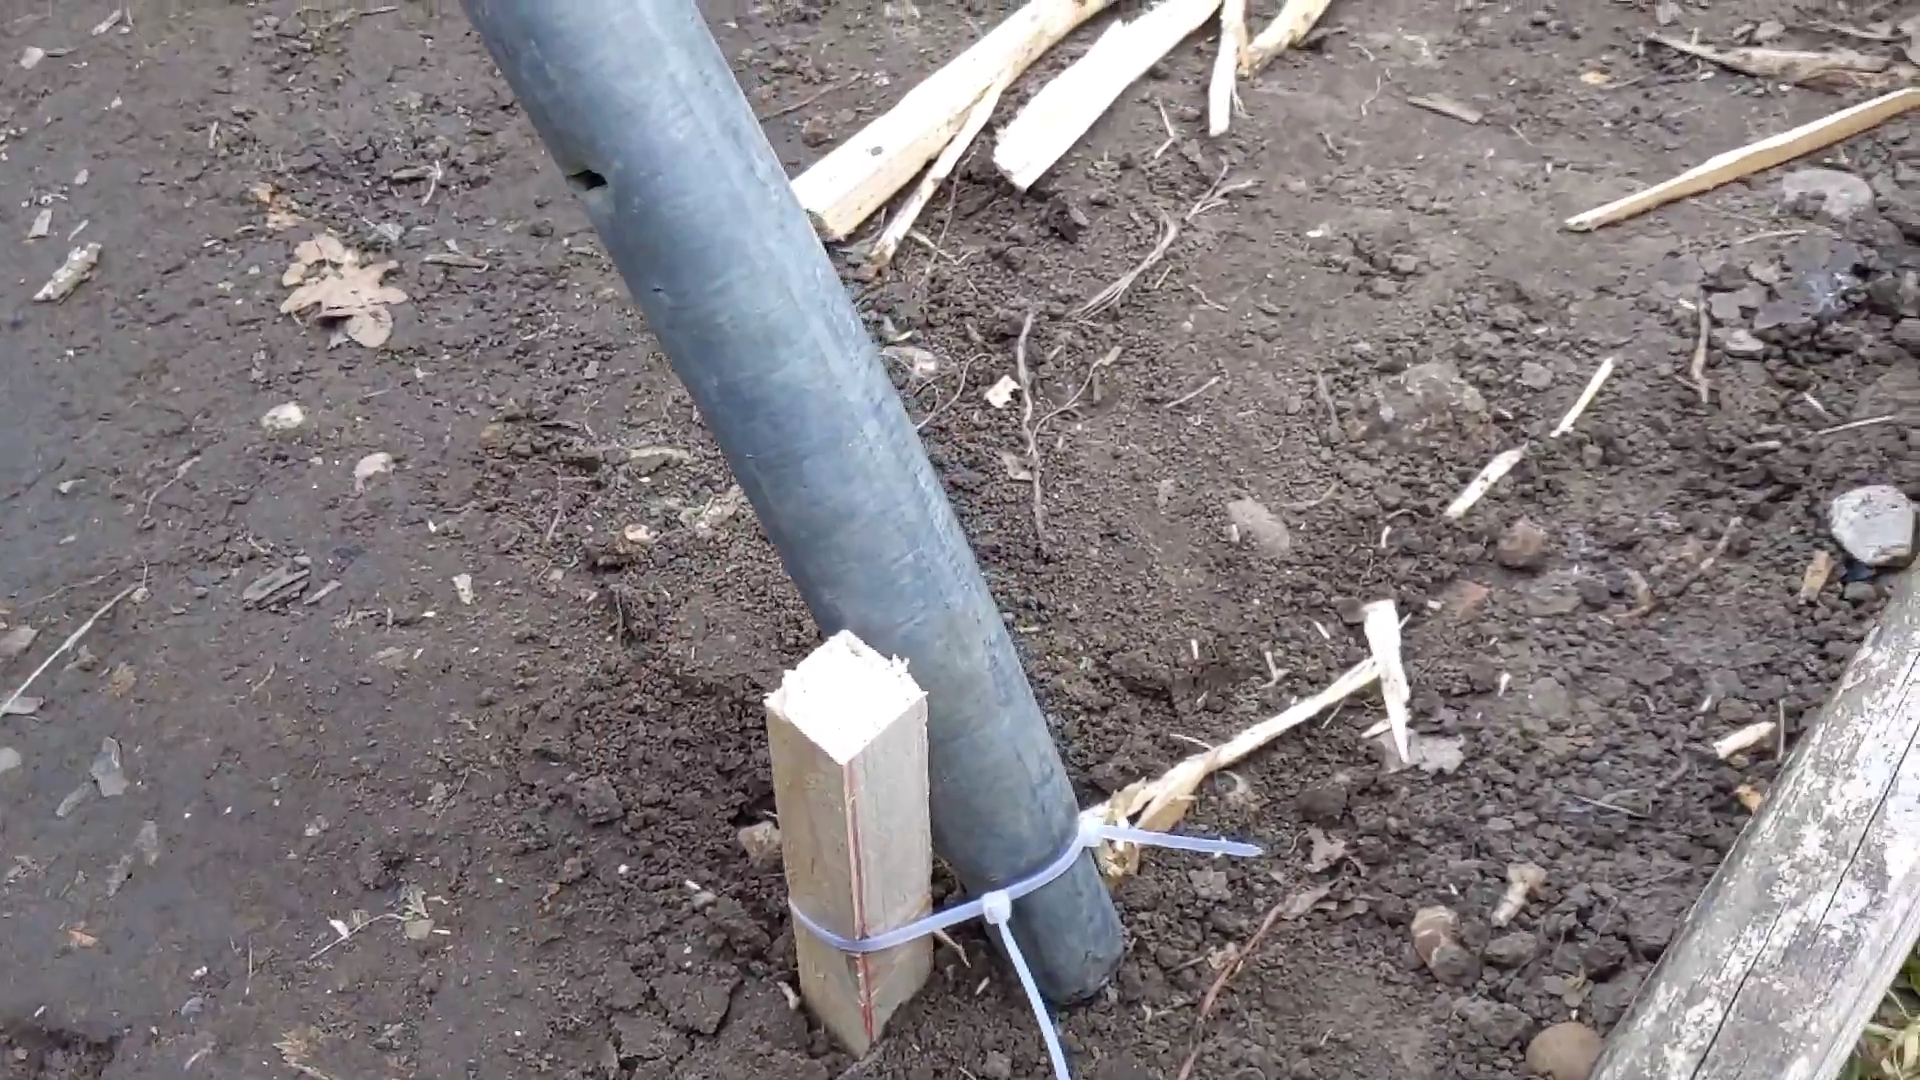
To secure this new arch independently of the main frame, there’s a peg on the inside of the main trampoline pole staked into the ground, as well as a peg staked into the ground and cable tied to the main pole.
So long as we don’t get hurricane or storm Dennis style winds, I can’t foresee much movement there – but if it does, it’s easily fixed.
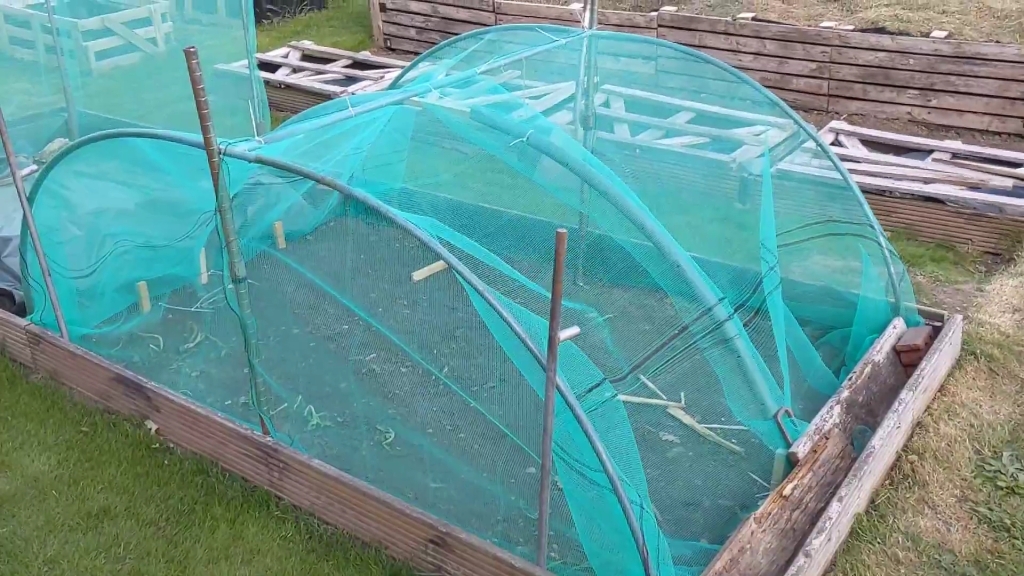
The new middle arch really did pay off as it allowed me to limit any sag and riding in the middle of the structure. This did of course change how I Iaid the netting across the frame and I chose to secure everything in the middle of the frame.

This did of course mean I had quite a bit of excess netting to remove.
I also did add a few of pegs in the ground, in between the poles just to tie the netting to at the base.
The last piece that needed to be added was the other half of the netting. This is where I made a little mistake and cut the roll a little bit too short. This means, where I intended to have just two pieces of netting for the frame, I ended up with three – no big deal. I kind of feel this is a blessing in disguise, as I feel that at frequent visits, I won’t want to take off the whole half, so can get away with undoing a quarter.
I feel this has been a good exercise, and I’m really pleased with the outcome. Looking around at my allotment site, it looks like there’s a million ways in which you can make a brassica cage, a fruit cage and each structure has it’s own charm and individuality.
I’d love to read how you go about building a brassica cage and other hints and tips to keep the birds and butterflies at bay.


Leave a Reply