
Over the last year or so I’ve been collecting water tanks, with a view of becoming less dependant on the communal allotment tap, and build my own water harvester.
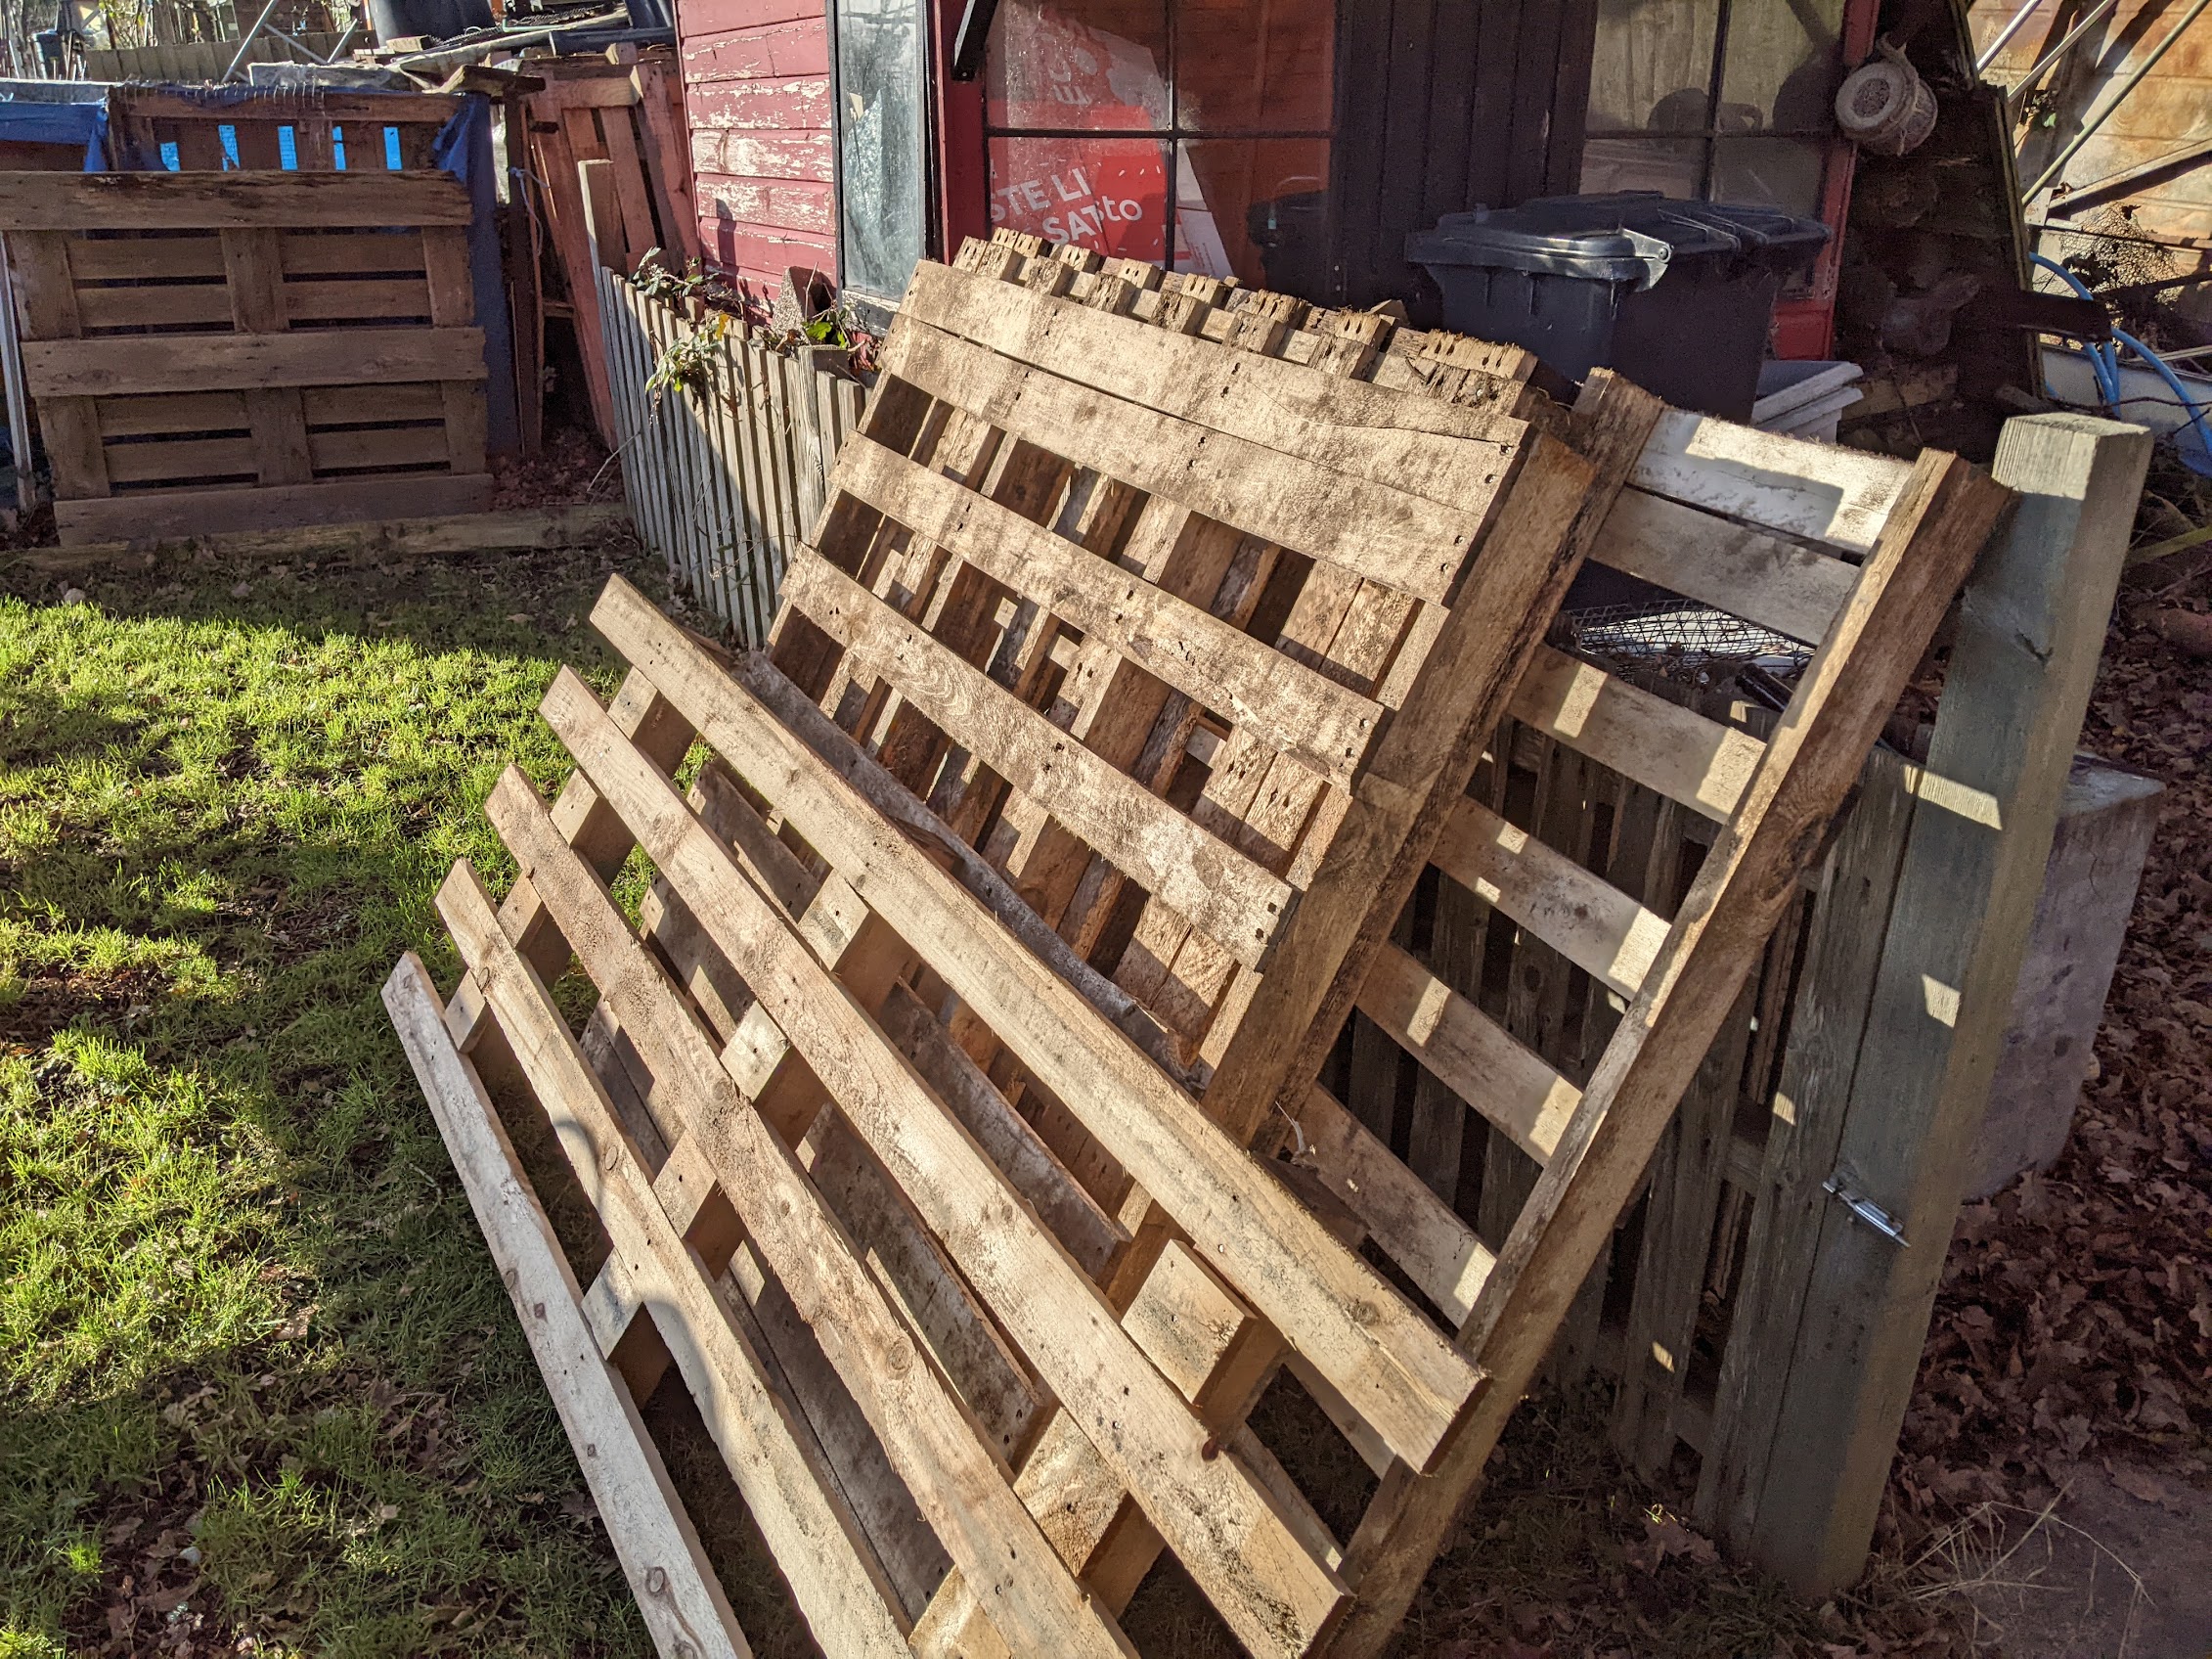
Shortly before Christmas, a number of uniformed pallets were donated and left in the allotment car park. When I returned after Christmas, they were still there, so I laid claim and carried them over to the plot. I didn’t know how they’d be useful, but I knew they’d be useful, for when I had to build a water harvester.
The third piece of the puzzle, was where I’d put the water harvesters. I’ve been agonising over a half bed, wondering what to grow there, or how to make productive use of the space.
I decided this was the perfect place for the water harvesters – I consider it a productive use of the space.
In total, I have three water tanks, plus a water butt and other water collecting shaped vessels, but I thought it best to just focus on the three water tanks, the pallets and the space.

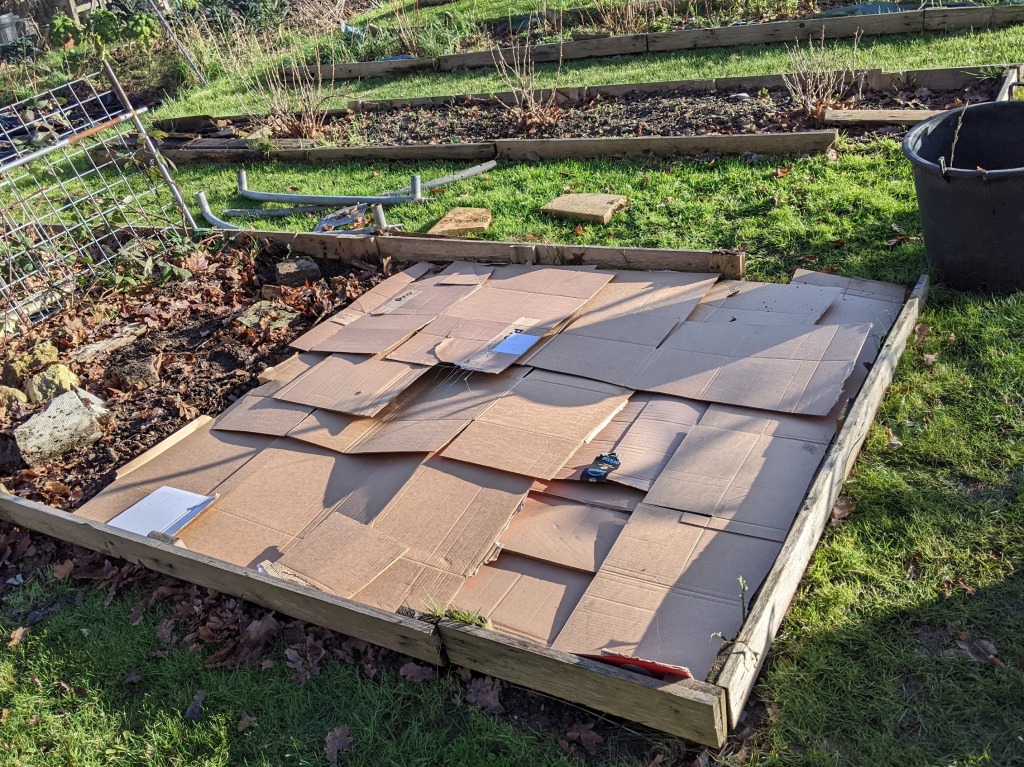
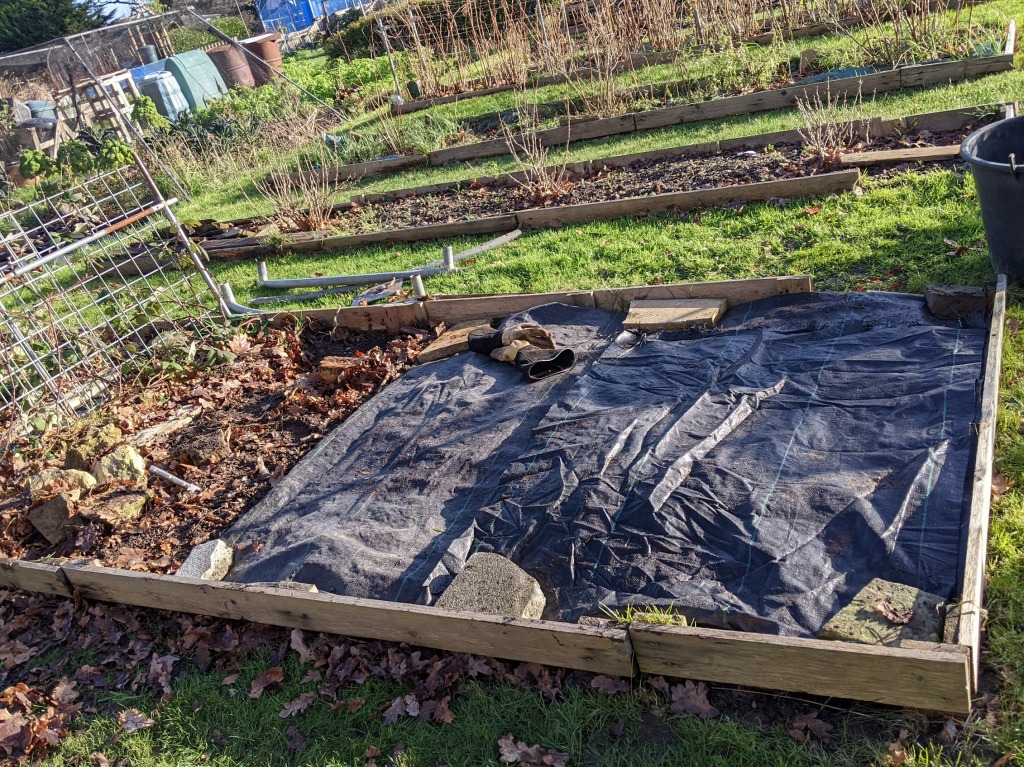
The first thing I did was to level the ground. There wasn’t much to do here except removing some old pieces of metal, rocks, lumps of concrete – raking the ground and then covering with cardboard and some matting to reduce any unwanted growth.
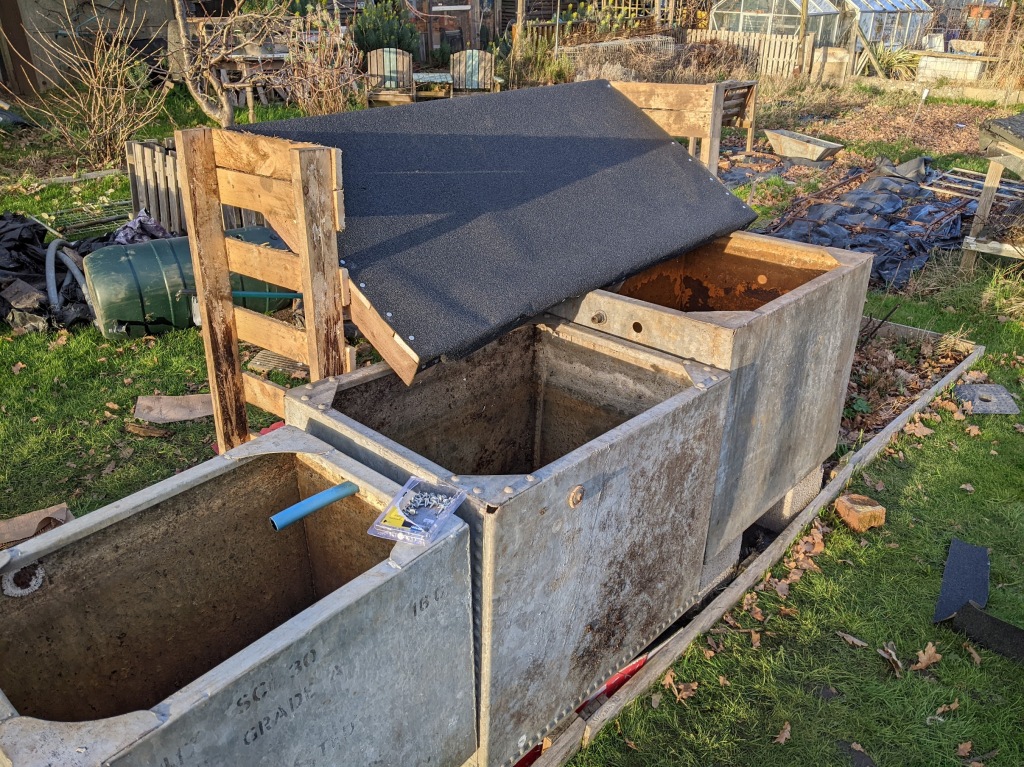
Shamelessly, I’ve copied my allotment neighbour who has a roof like structure over a water butt to collect rainwater, and in all my years I’ve never seen the bottom of this tank. This is for sure, tried and tested.
First of all, I lined up roughly where the tanks were going to go, arranging them from little to large. The idea is that once one water tank is full, the overflow will go into the next tank and so on – capturing as much as possible. I stacked the tanks onto some breeze blocks, slabs and so on to step down the tanks from big to small.
Three blackberry bushes that were planted needed to be moved from where they were, and needed to be replanted, but we’ll get to that.
I then cut a pallet into three sections. Two of those pieces would be the sides and an additional pallet would be the roof of the structure.
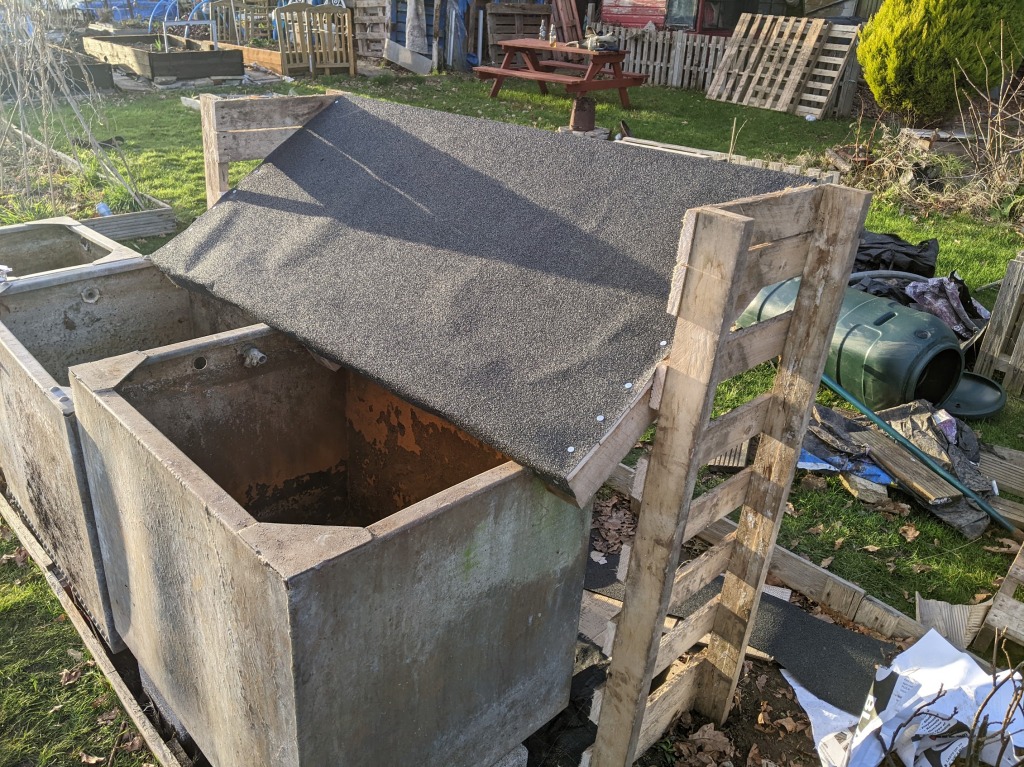
There we have it, simple and yet hopefully – effective!
Relocating blackberries
This is where the job turned into two parts, which was to relocate three blackberry bushes.
Historically, the blackberries that grow in Tolworth, are of old stock dating as far back as the Doomsday book, which means they’re unruly, thorny and hard to manage at times.
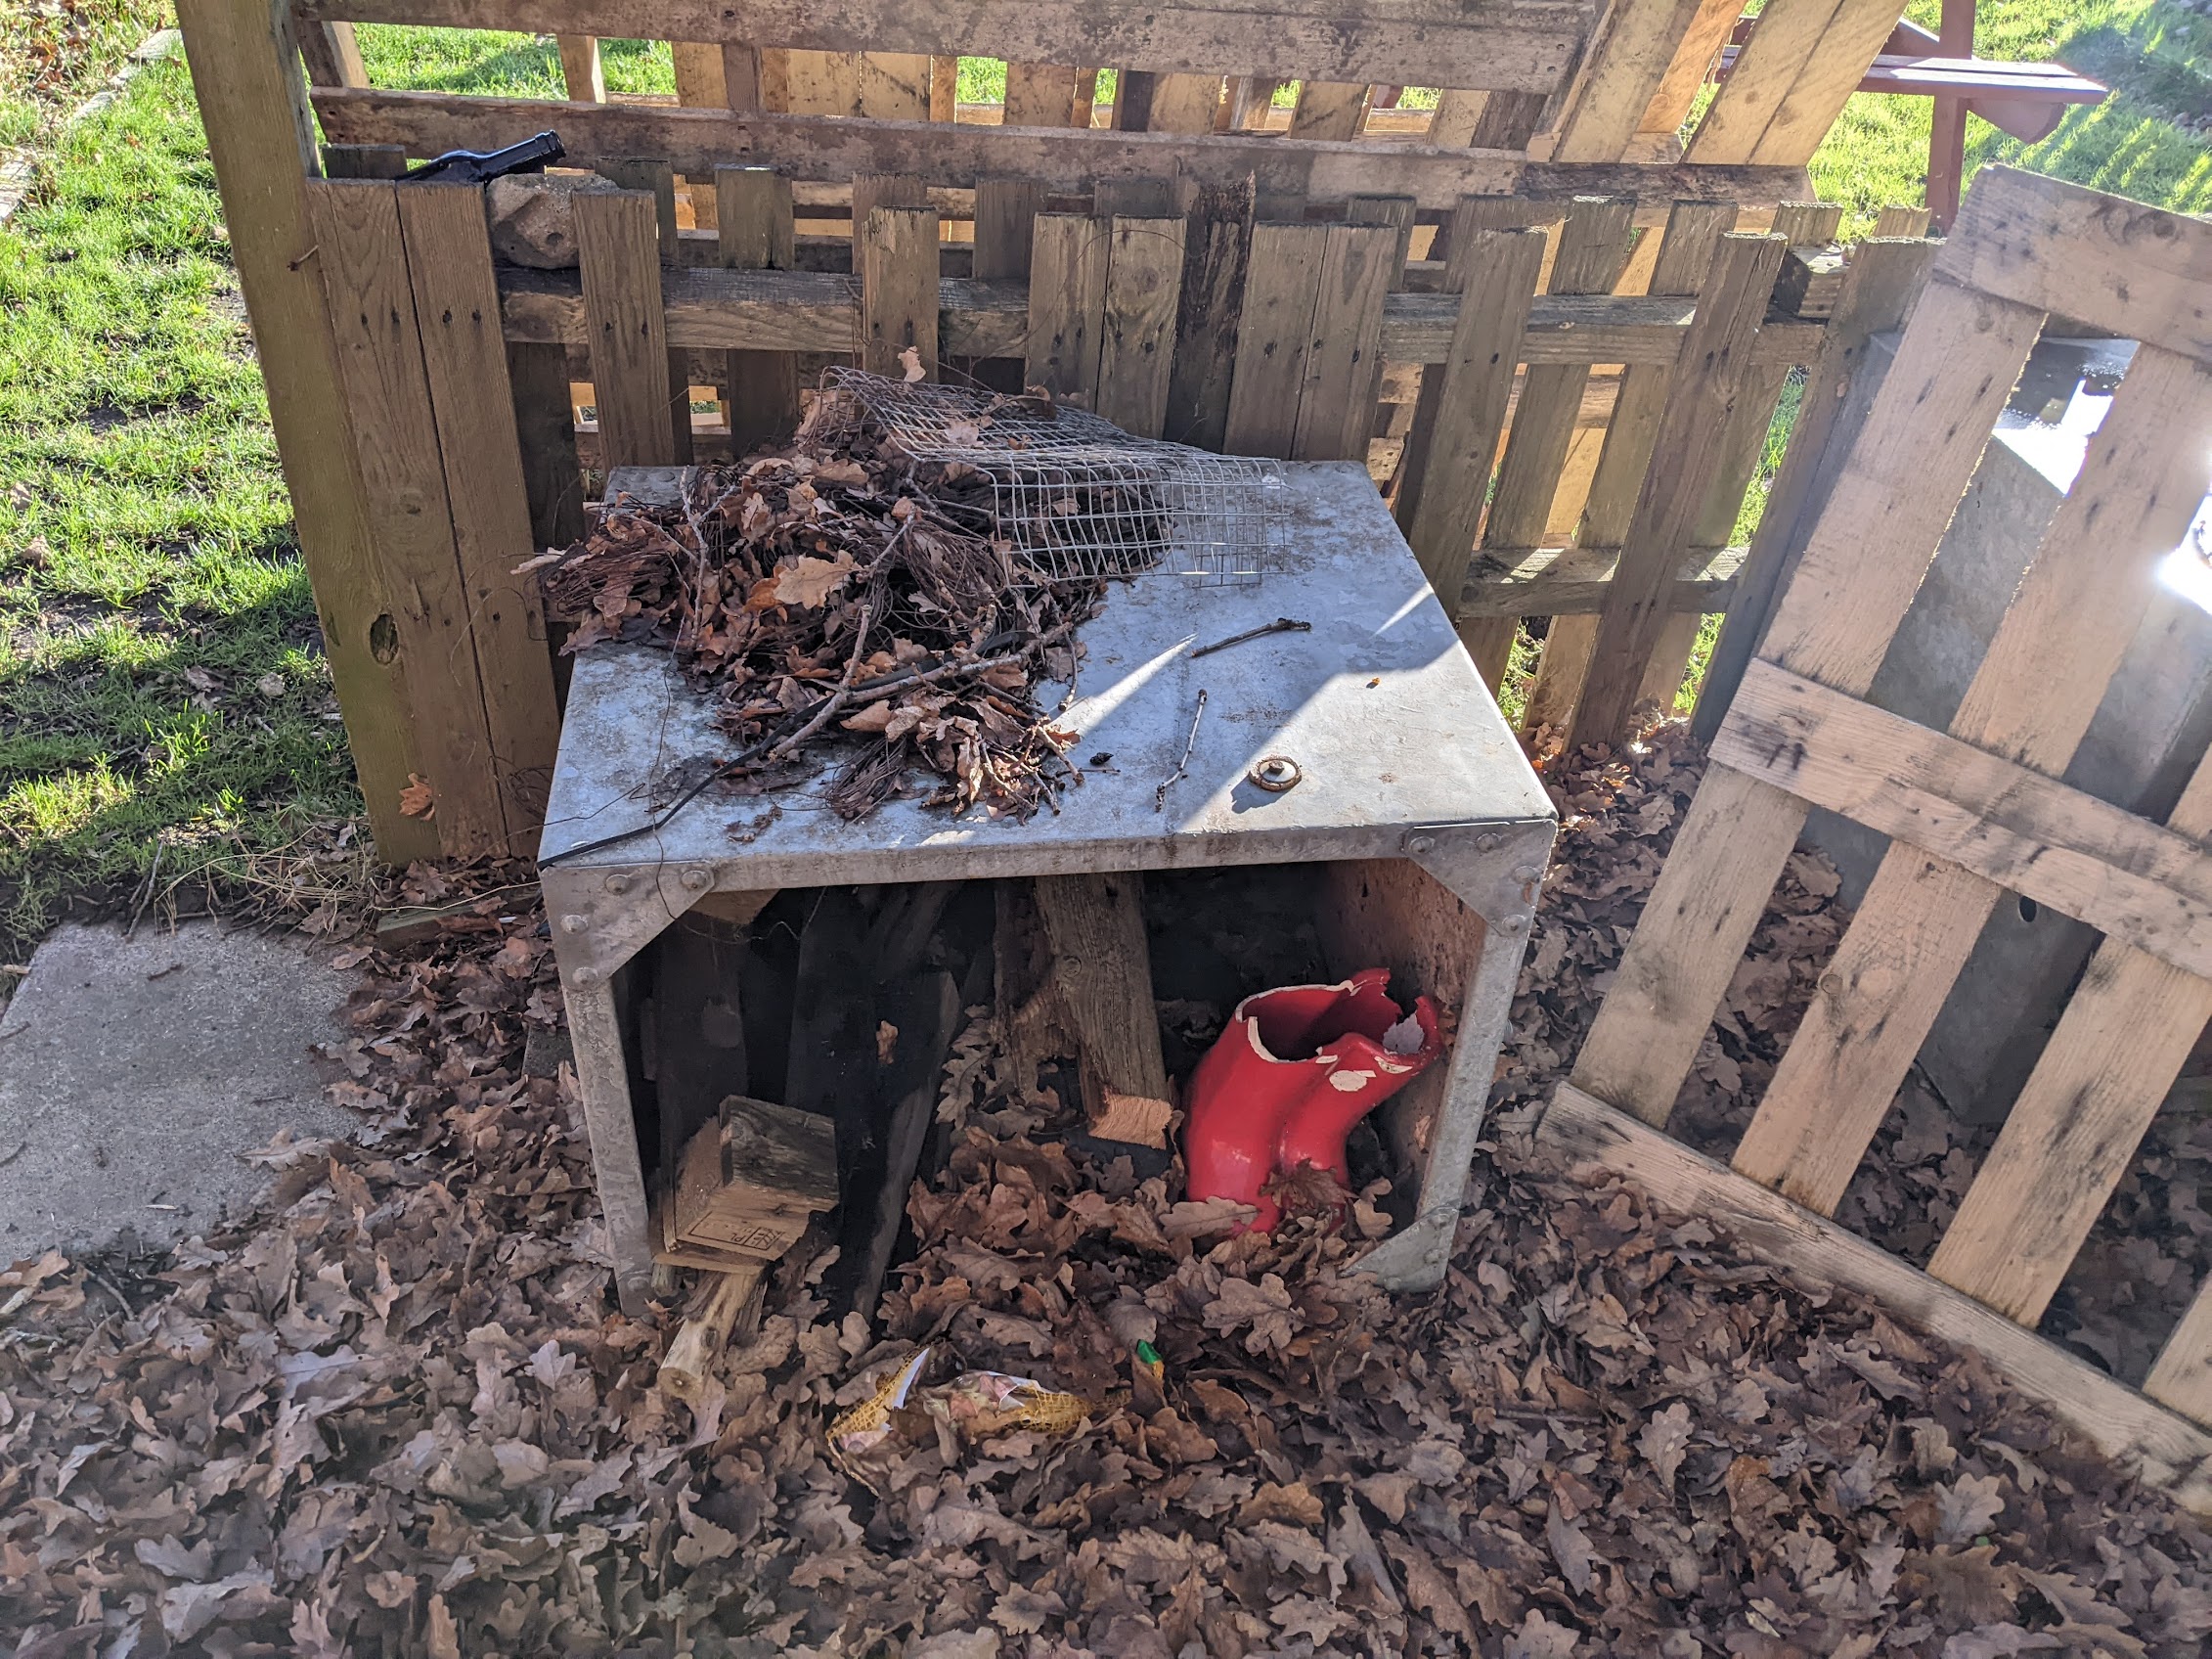
I decided to take an extra pallet and build a box to contain these in. My rule with pruning blackberries is that, if it’s in the way – it goes, so hopefully this will structure will help to keep these under control.
The blackberries were planted into ground, I built the box around them, and the place cardboard and leaves around the base of the bushes. These plants are extremely adaptable and resilient. I’ll be very surprised if they don’t take root.


I mentioned recently, this was one of my allotment goals, I consider this achieved, even though there’s perhaps more ways to collect water on the plot.
Like compost, you can’t have too much water!
How do you collect water on the plot? How do you save water? I’d love to know in the comments below.


Leave a Reply