
I’ve taken the plunge… and dug myself a pond for the wildlife garden. It’s something I’ve tried not to do for the most irrational reason… Which is, I’m always frightened of falling in, or putting my foot into it.
This little project came to pass because of the recent water harvester project.
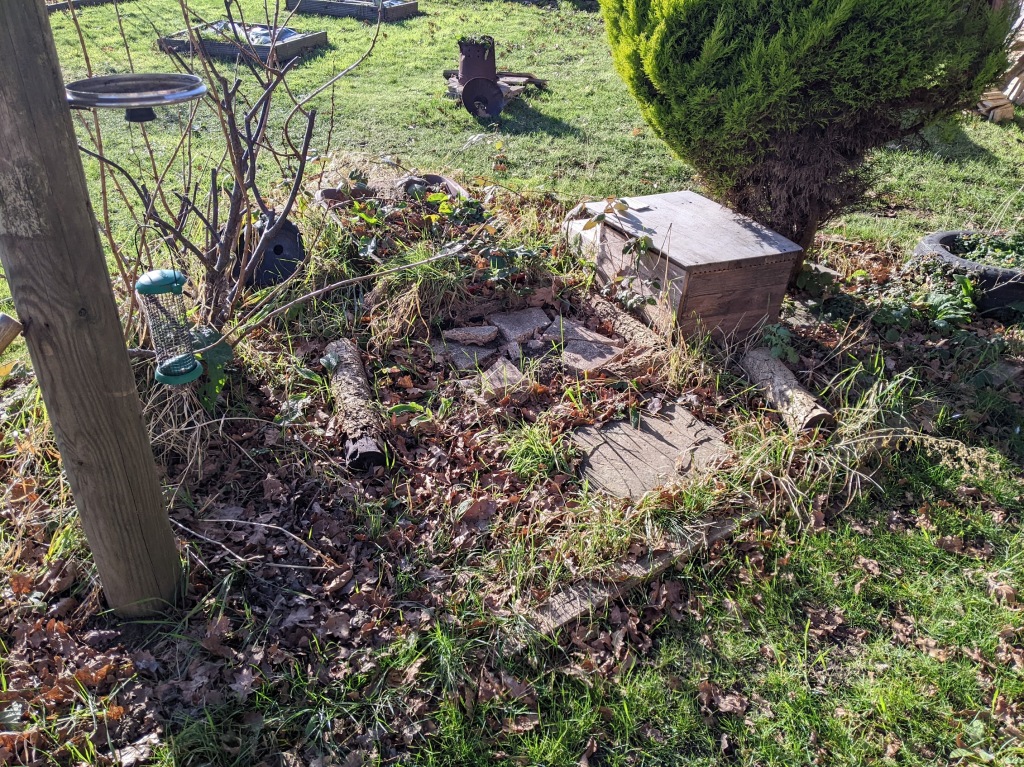
In the picture above, next to the hedgehog hotel, was a small sized water tank. If I’m honest, I’m not 100% certain why I put it there. It was to cover the ground, and get a decent water source placed in the wildlife garden… or something along those lines.
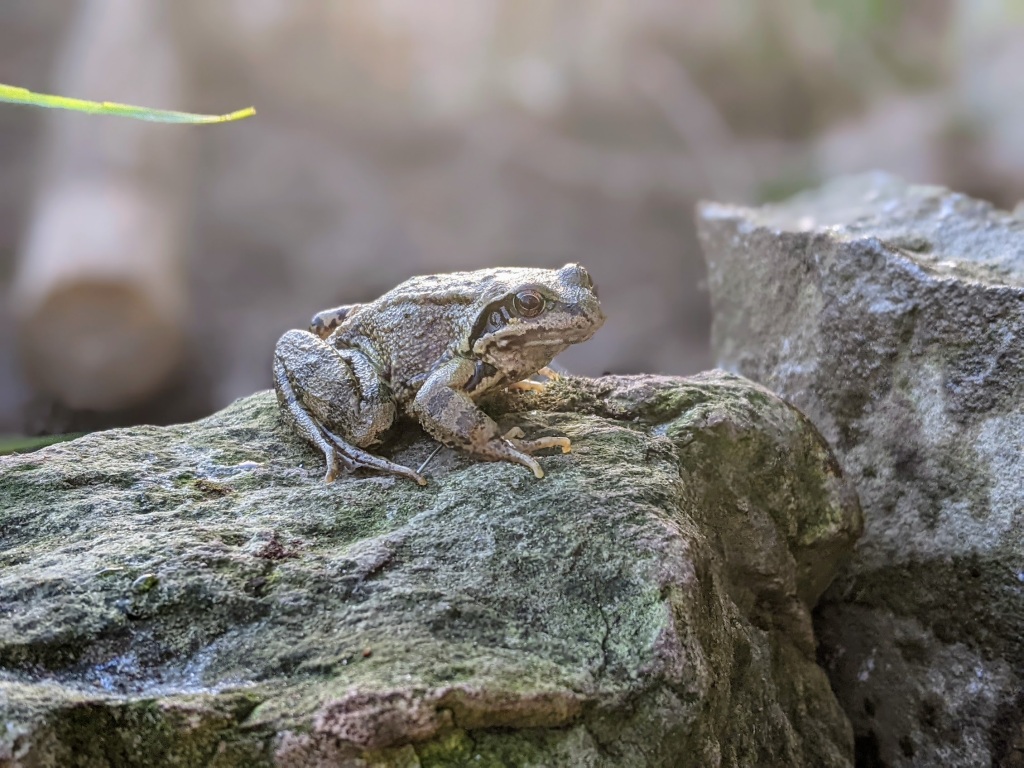
But since moving the water tank to somewhere more useful, I was left with a space that I didn’t know what to do with. Also, when moving the water tank, I disturbed some frogs that were there, and I couldn’t help but feel a bit guilty for doing that.
I rehoused the frogs onto nearby plots that had ponds and set about building a pond of my own.
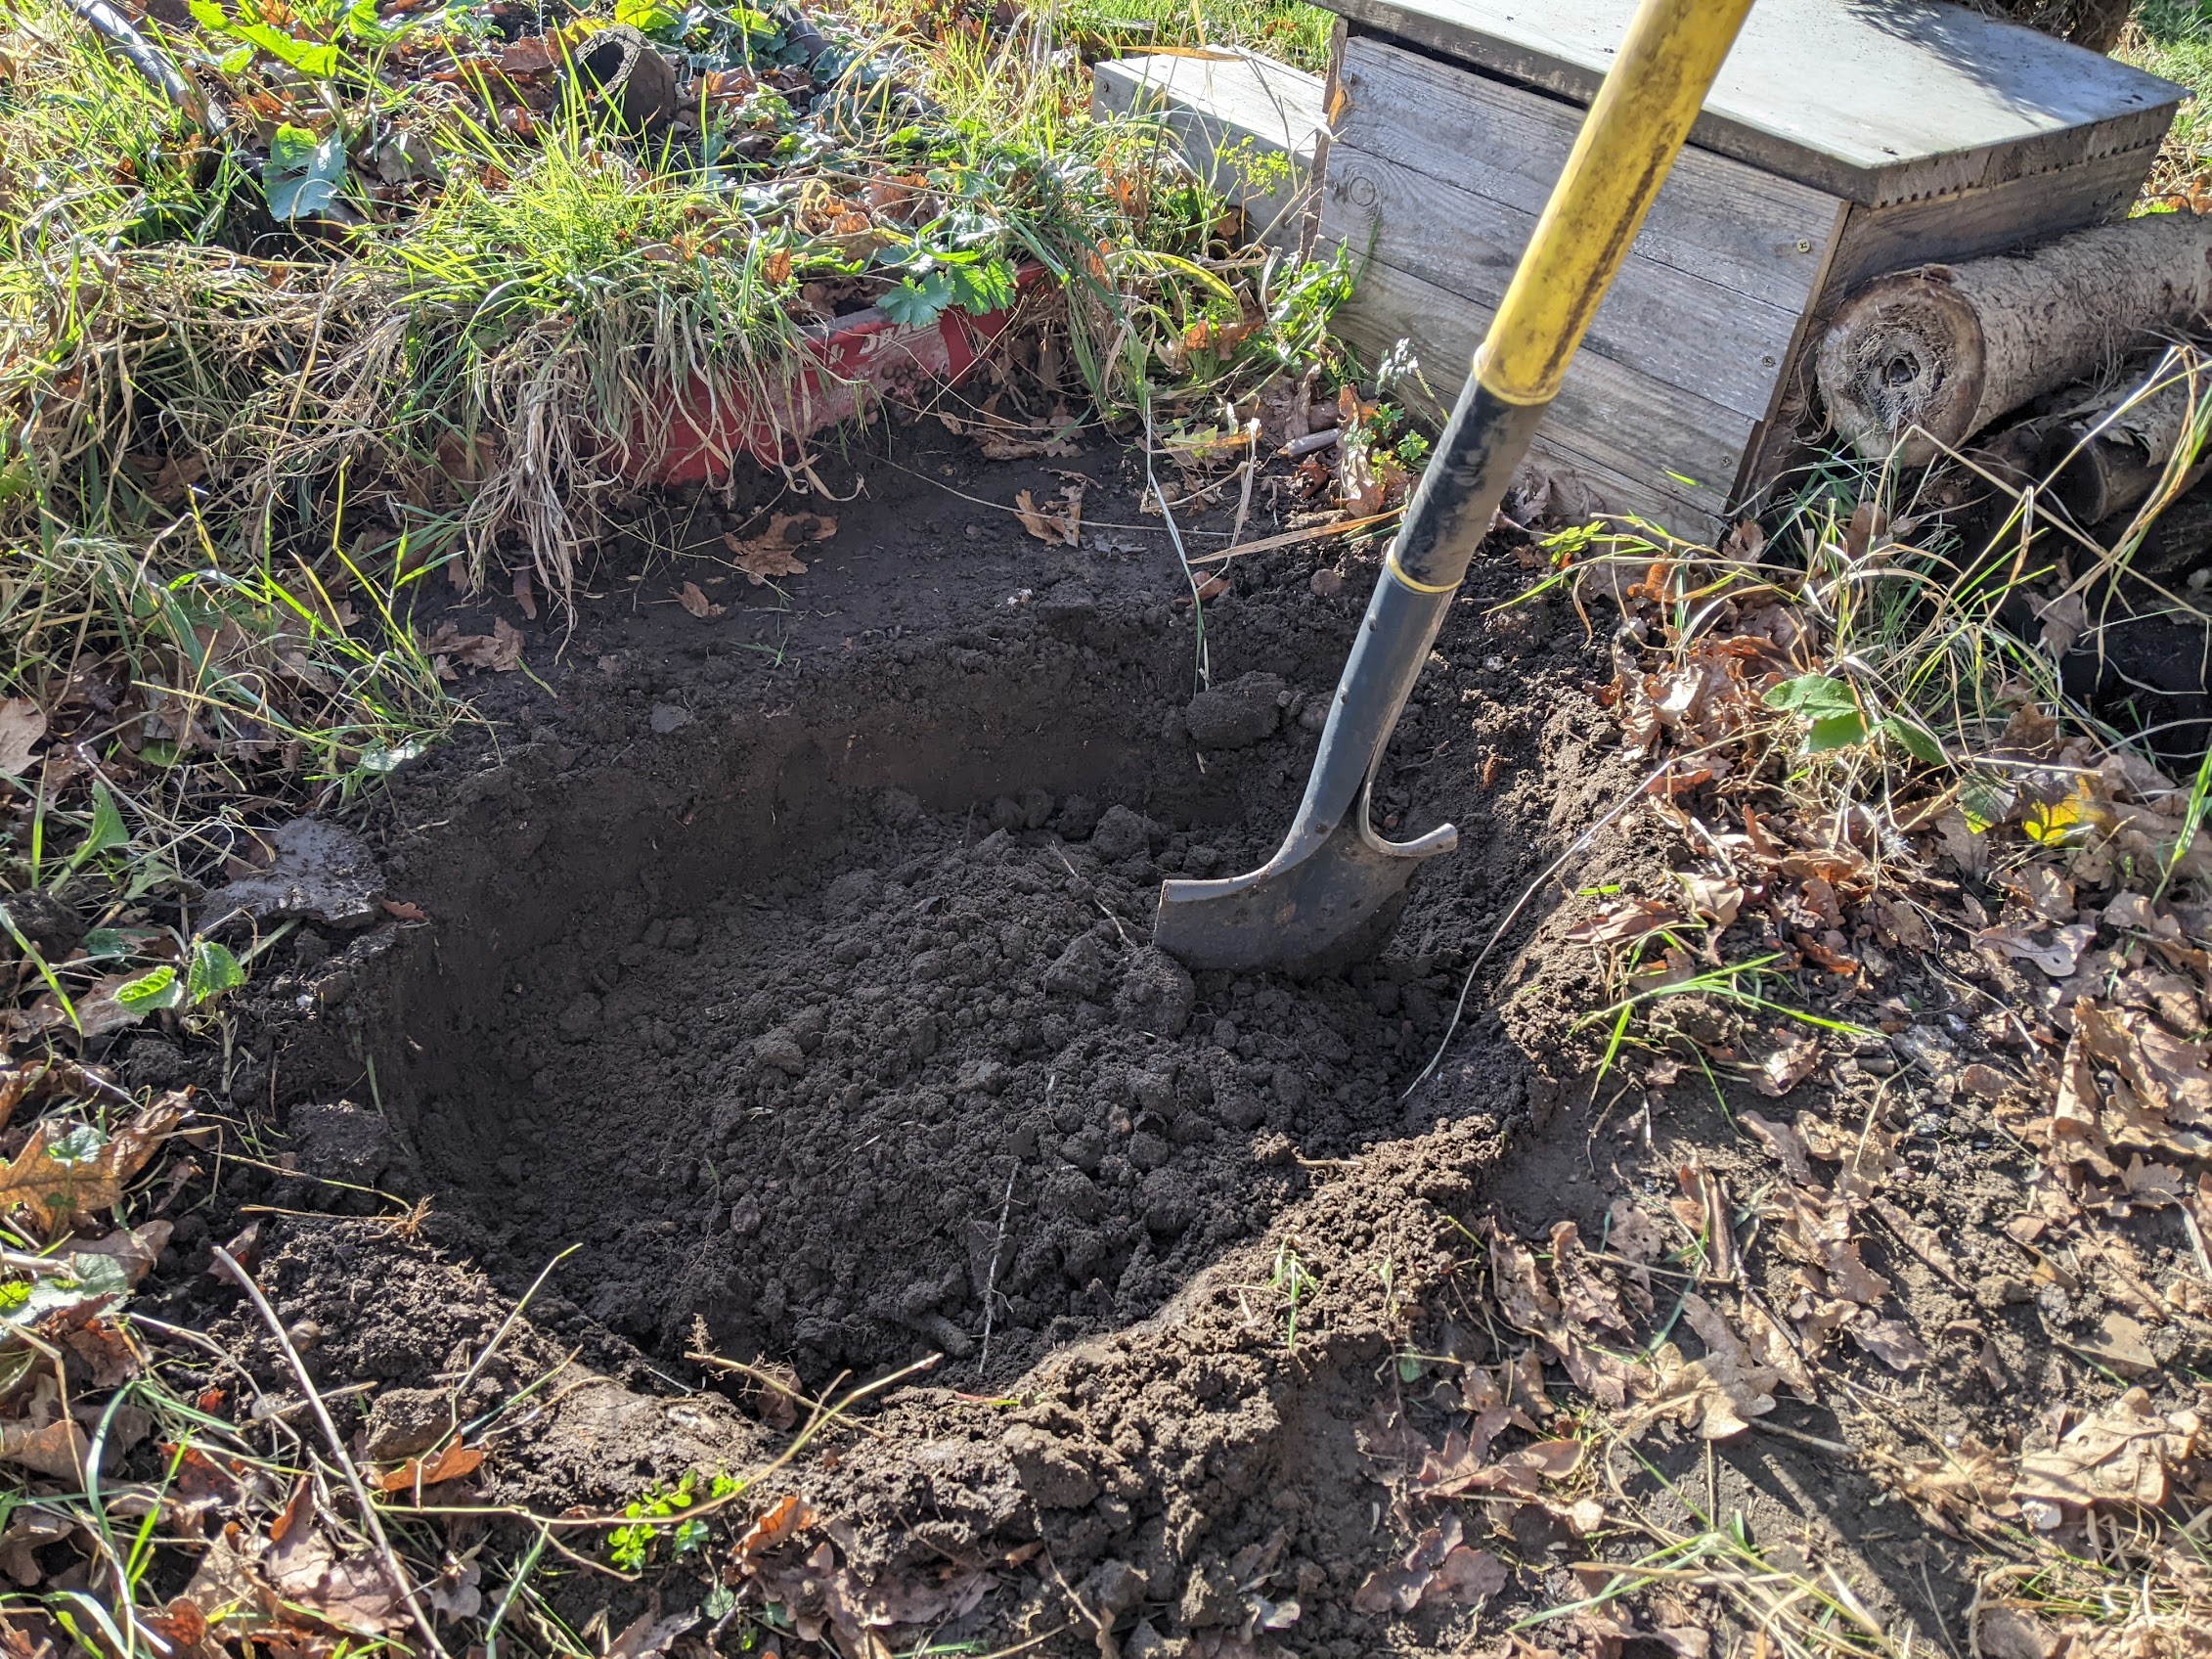
Digging a pond
Of course the first thing to do, is to dig a hole.
I found it really difficult to not get carried away when digging a hole. It’s very easy to dig too wide and too deep. In the end, this pond is approximately 1.5m wide and 45-50cm deep at it’s deepest.
Before digging the pond I was advised to slope the sides of the pond inward to help keep things level. This involved adding and removing soil and patting it down by hand, to what looked like a pretty insignificant crater.
Water will always find the level.


The next step was to measure the hole with a tape measure and get the depth and widths of the hole to see how much liner would be required.
It just so happens that weeks previous I was able to obtain a decent piece of heavy duty polythene to work with.
With the hole measured and marked out, I added about 30-40cm to the circumference of the PVC, when measuring and cutting the plastic. This is to account for any sinkage as it’s filled with water.
After I placed the plastic into the hole, I weighed the sides down with some rocks and broken slabs and began to fill the hole with water.


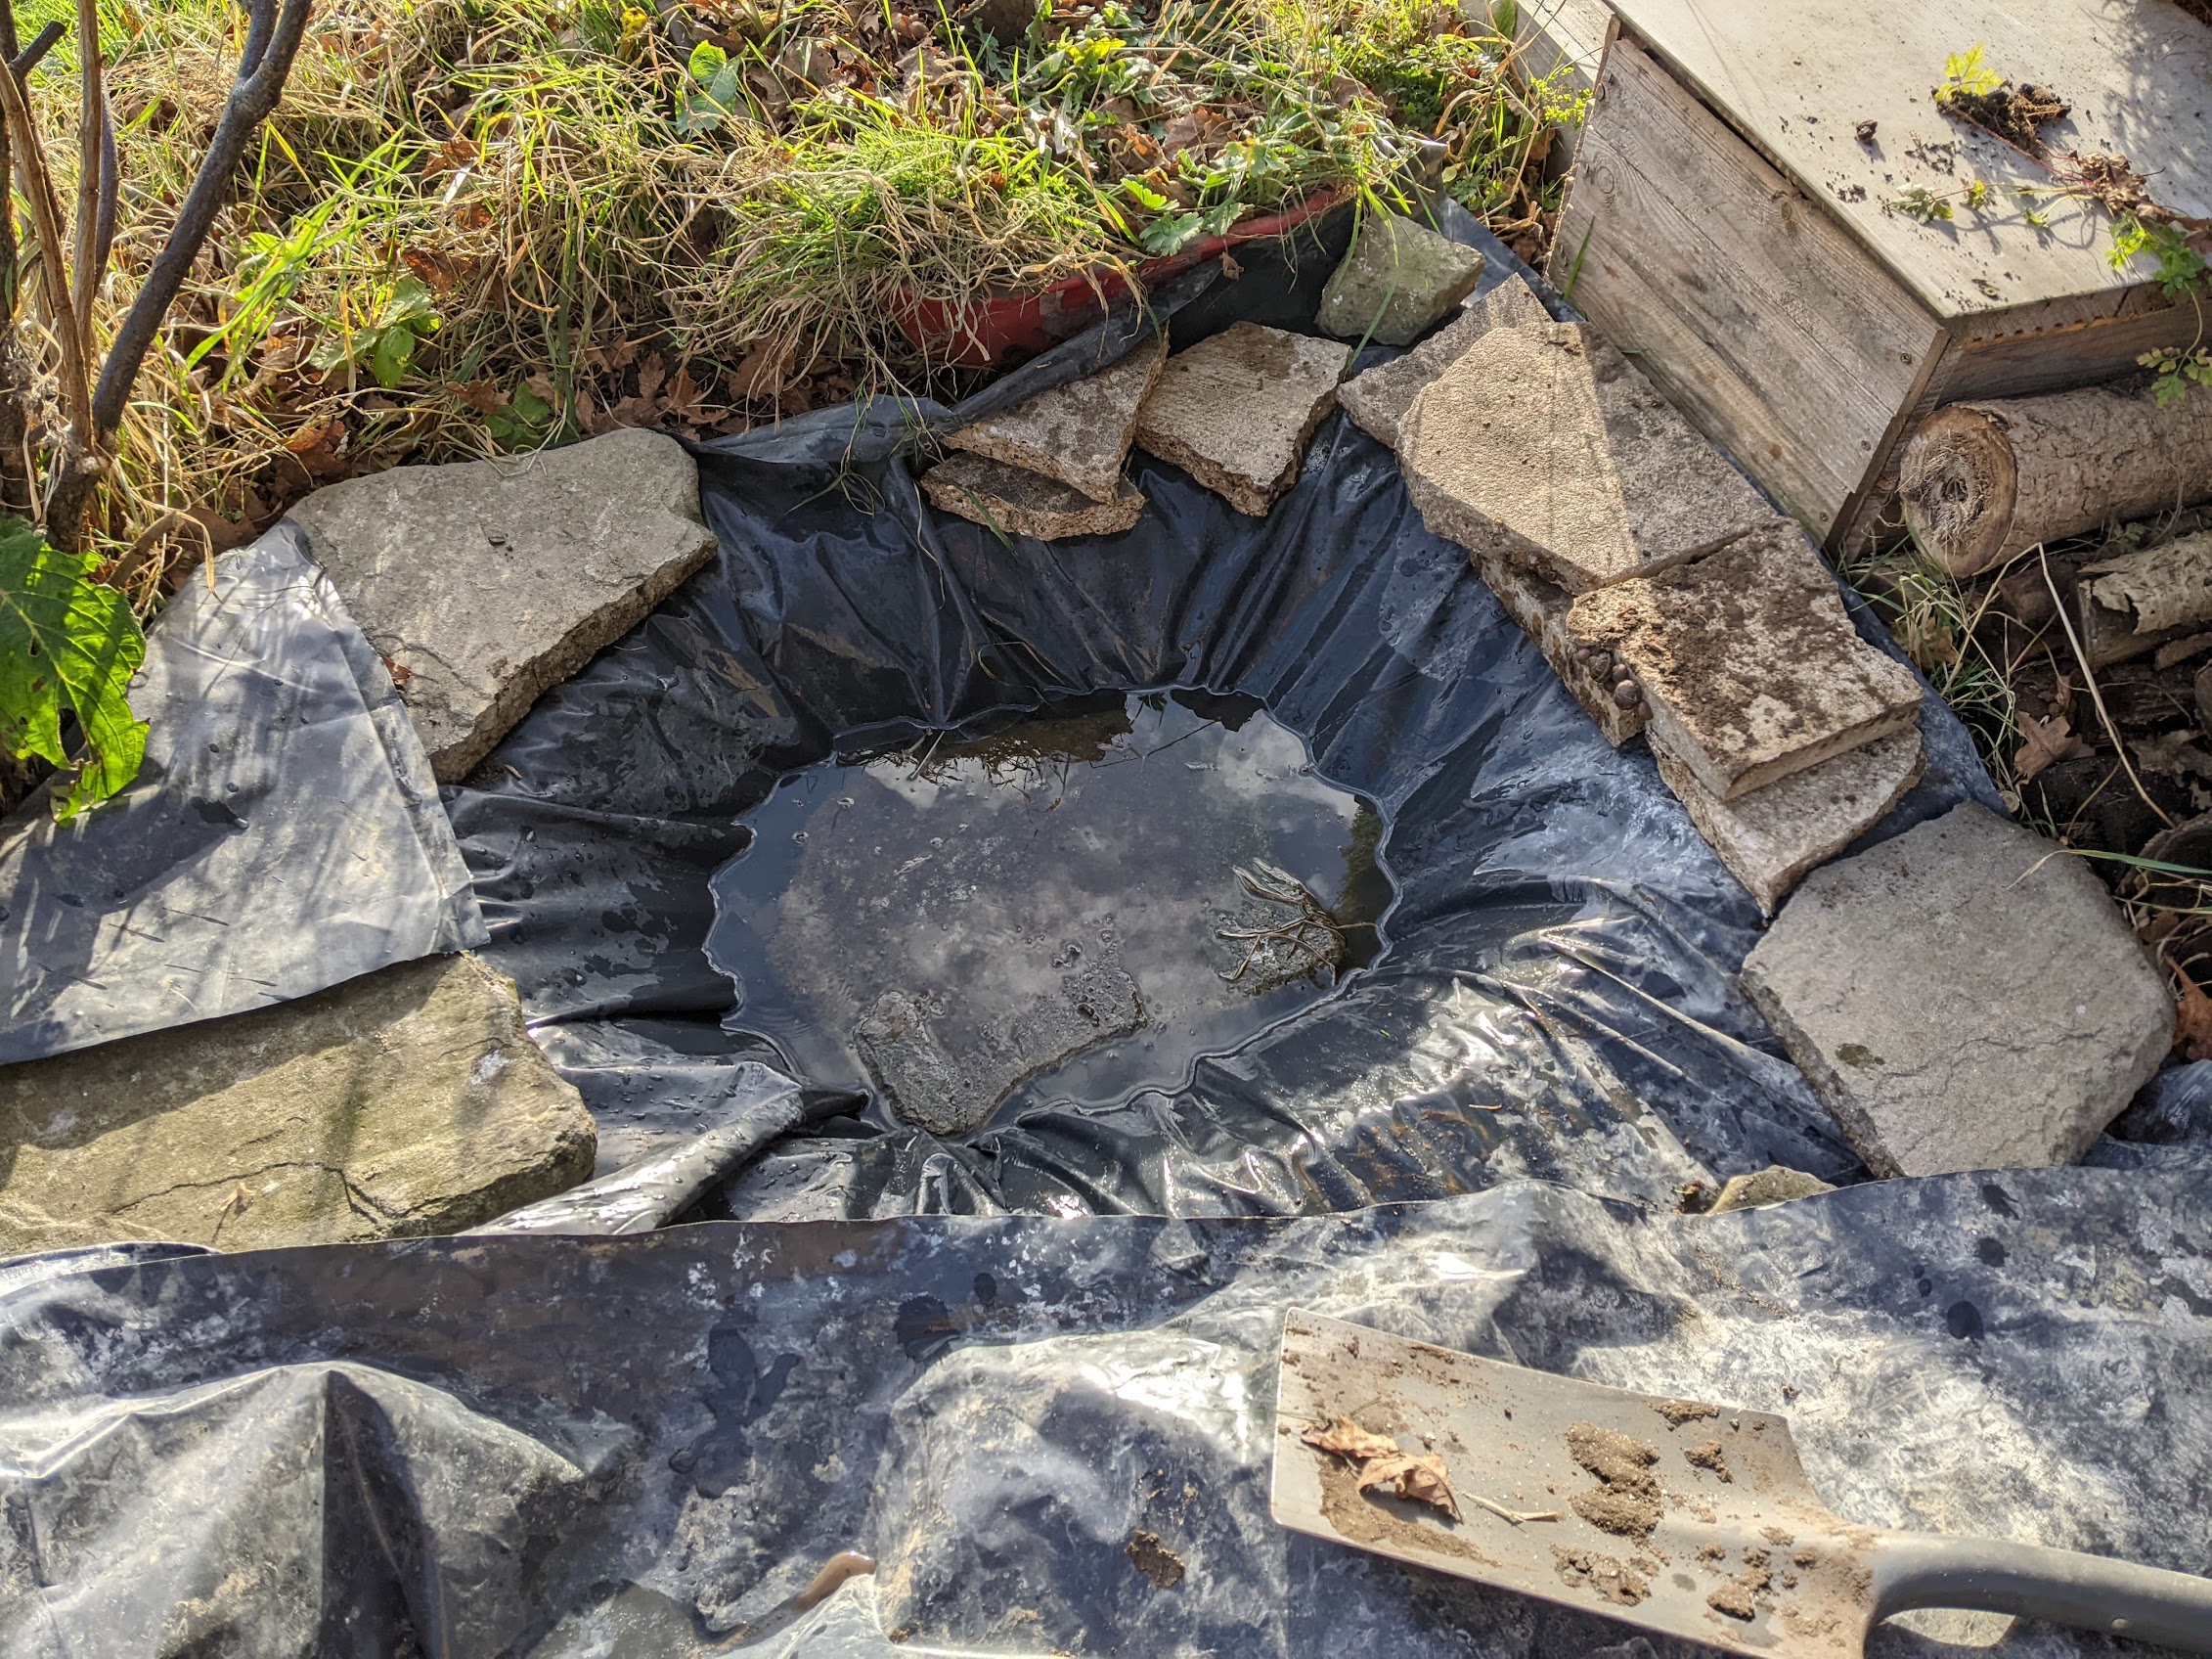
What followed was hours with trying to get everything flat and not have any creases in the pond, which felt impossible. I called for help from an older allotment holder, who politely explained that, it’s like trying to wrap a football – I’ll always get creases.
Once the penny dropped, I set my sights on placing decorative slabs around the edge, followed by some decorative rocks on top.
With the broken slabs, I built a little ramp inside of the pond and this is for the benefit of the frogs and newts who may want to hop in and out of the pond.
I also added a pot at an angle, with a hole in the bottom, to help catch the rain water and keep the pond topped up.


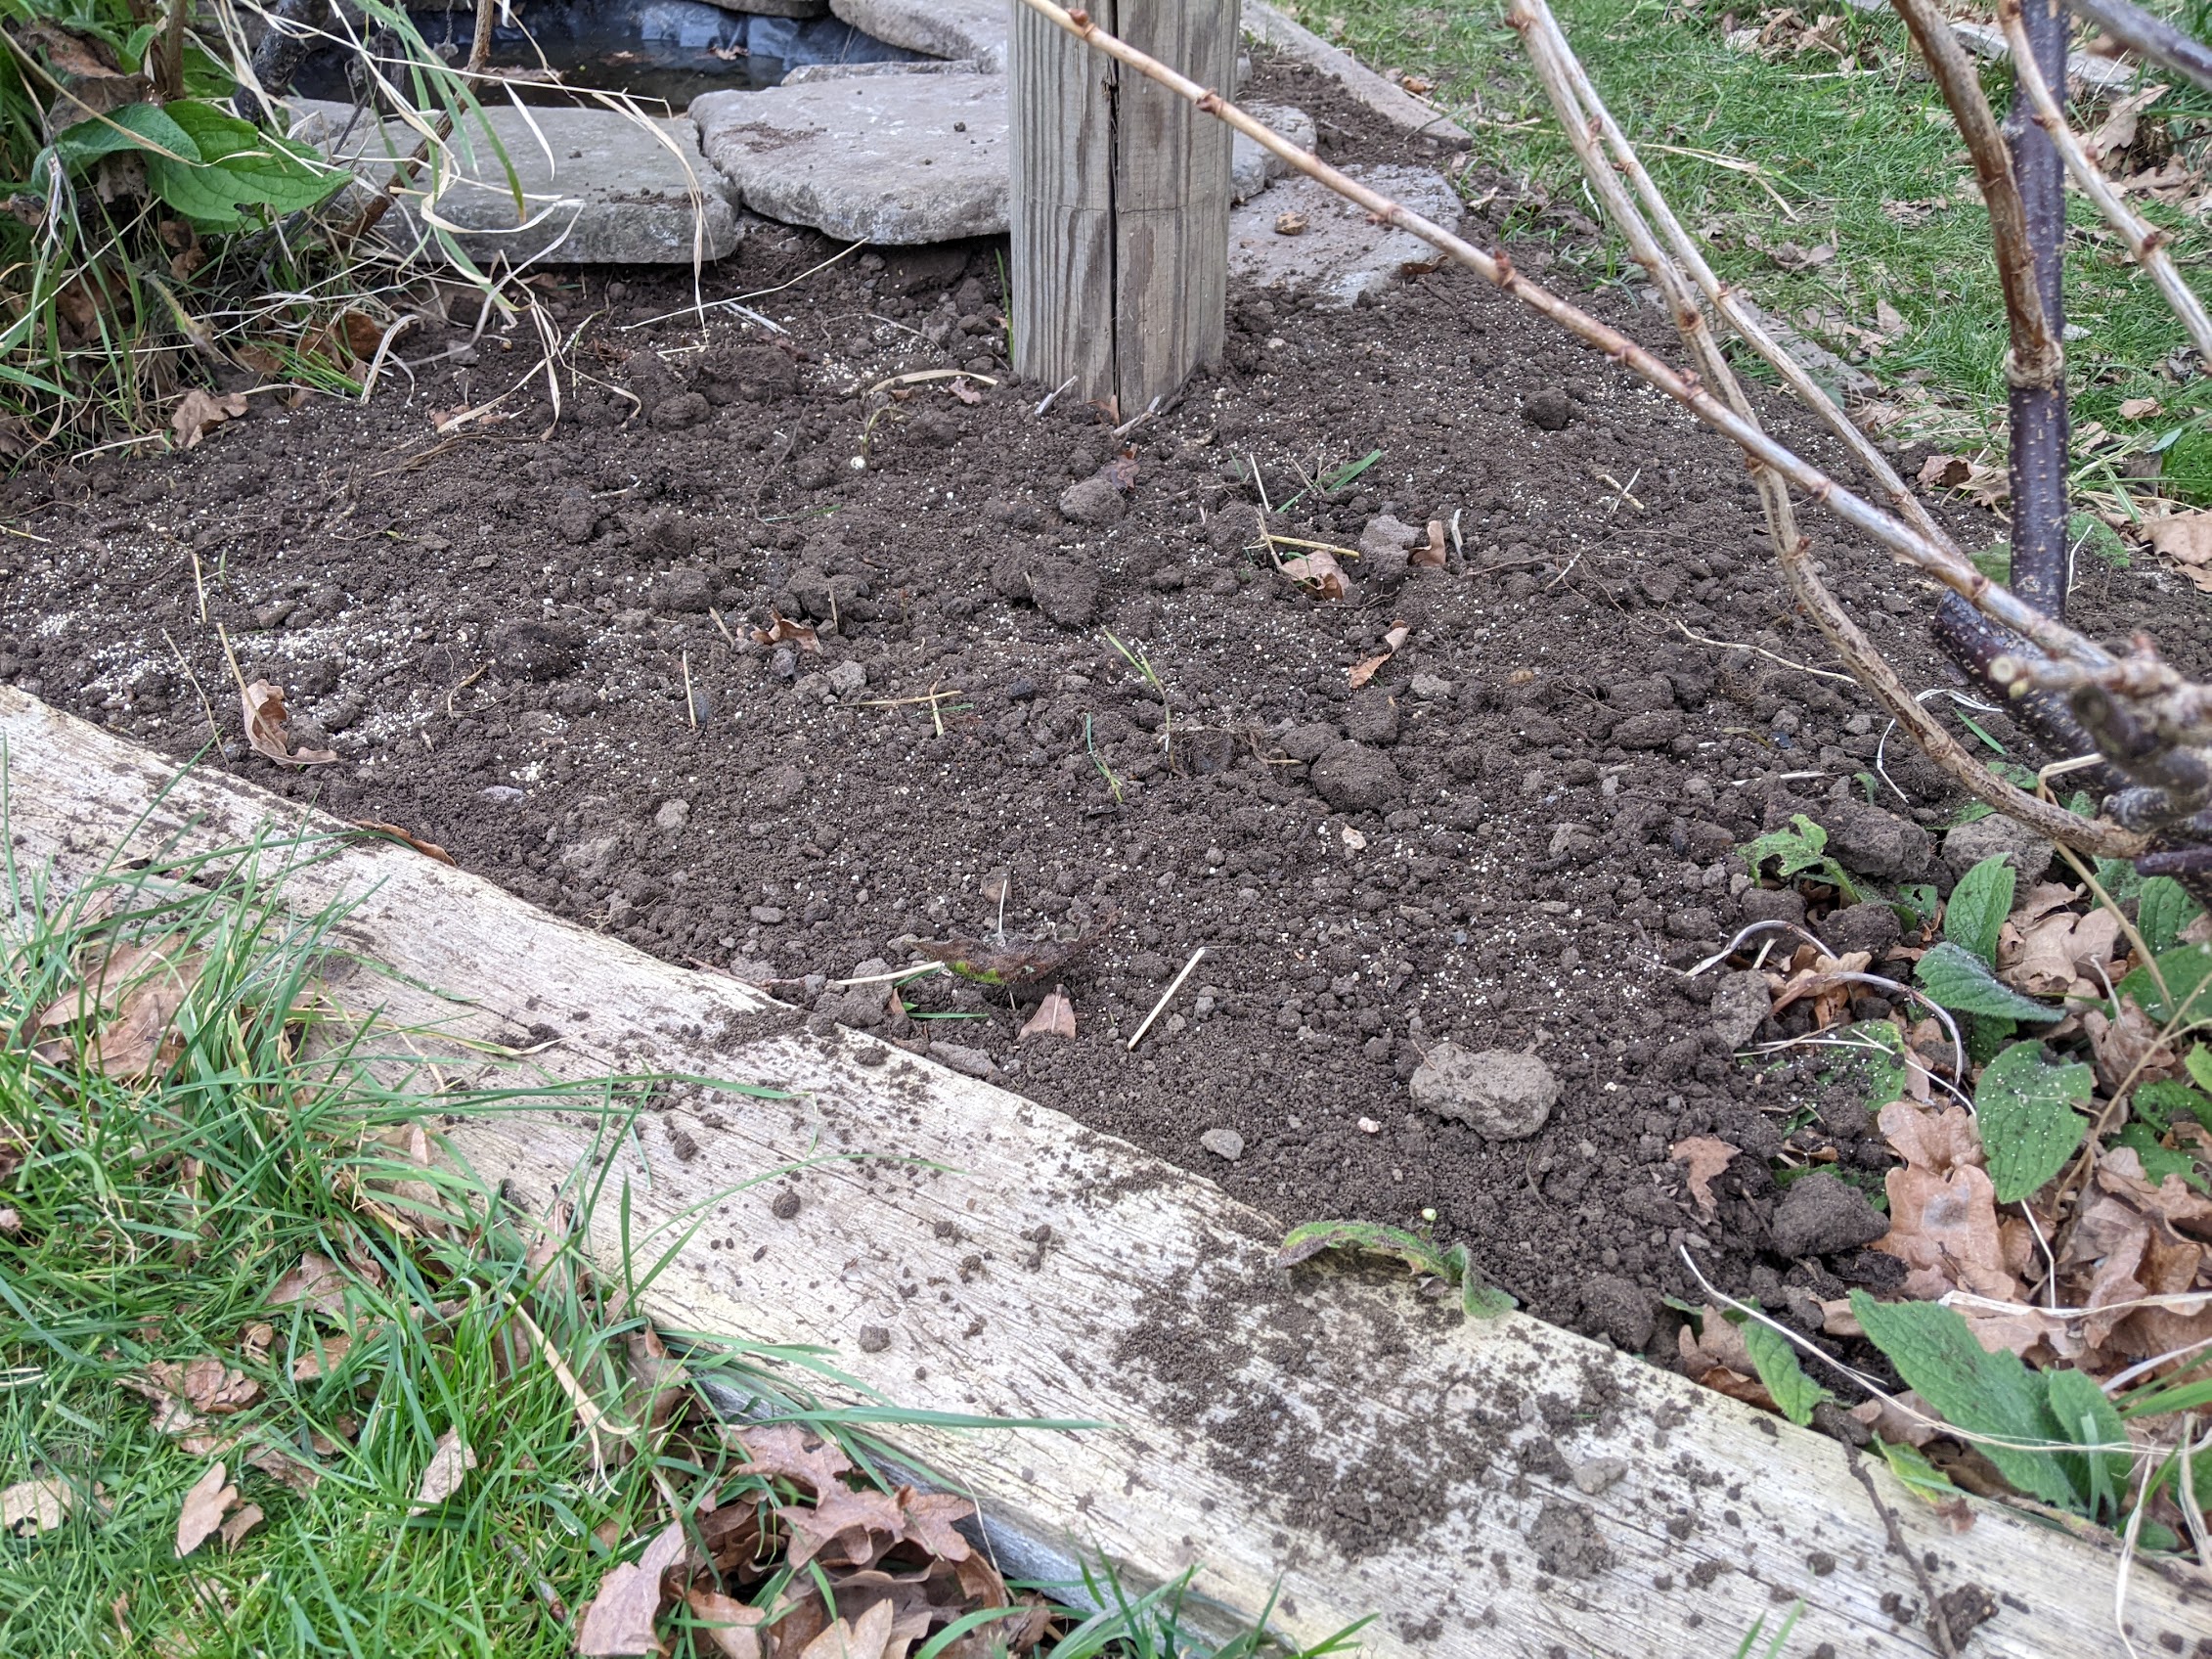
After digging the hole, and placing the stones around the pond, I had about a barrow and a half of soil to use.
The ground as a whole in the wildlife area has been left for forage, so I dispersed this soil around the base of the pond and and I sowed some left over wildflower seeds, which is perfect because they’re a shade mix.
Hopefully these pollinators will help to attract more bees, butterflies and other creatures.

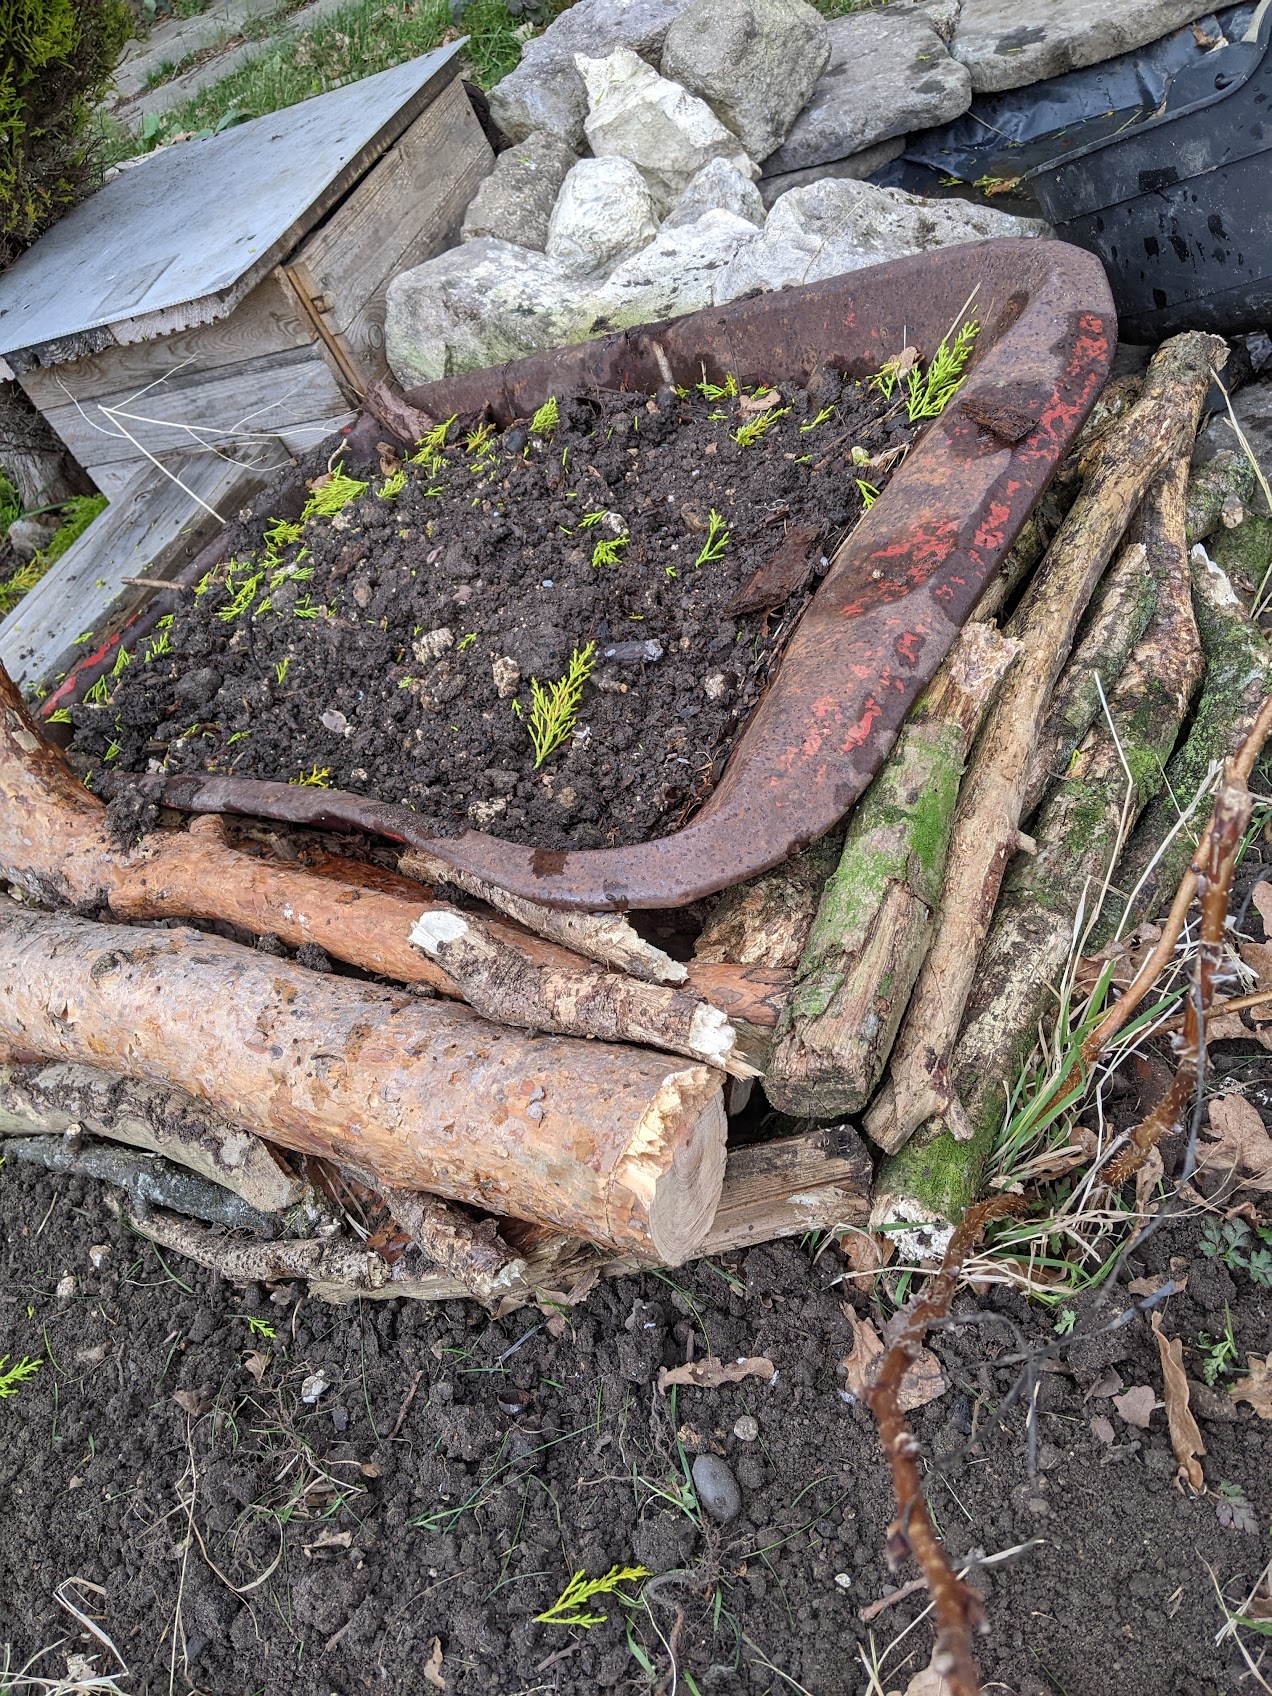
The last thing on the agenda was to place the wheelbarrow bed back to where it belongs.
I gave this bed a tidy up, placed it into the position, and sowed some sweet peas. I then rebuilt a smallish bug hotel around the sides of the barrow, to act as a habitat for creepy crawlies and also perhaps field mice or voles.

There we have it! A pond! Would I do it again? I’m not sure – it’s not for the faint hearted.
I’ve heard watercress is a good plant to grow in a pond – what plants would you grow? I’d love to know in the comments below.


Leave a Reply